Let’s make a simple archway using polygon modeling and the Bridge Tool.
–
Polygon cubes – two of them.
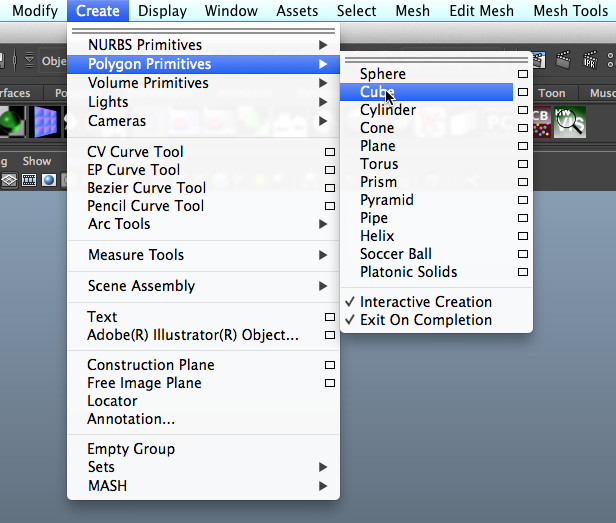
We start out by setting the Main Menu Selector in the upper left of the Maya interface to Polygons. (This step is not shown.) Next, we create a polygon cube.
Duplicating the cube.
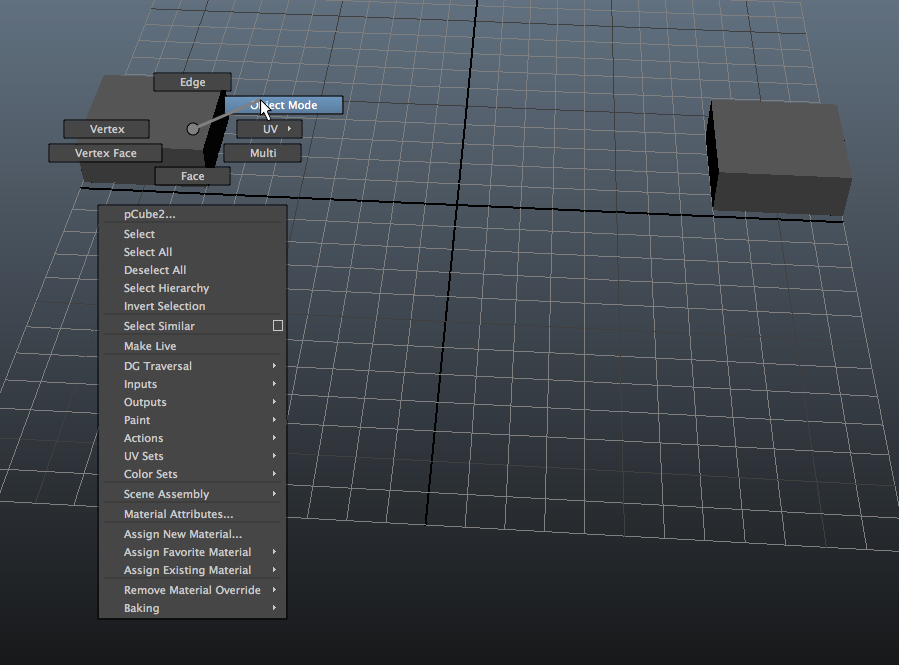
Since we just created an object, we are already in object mode, but in case we’re not, we right click and using the Marking Menu, put us in Object mode.
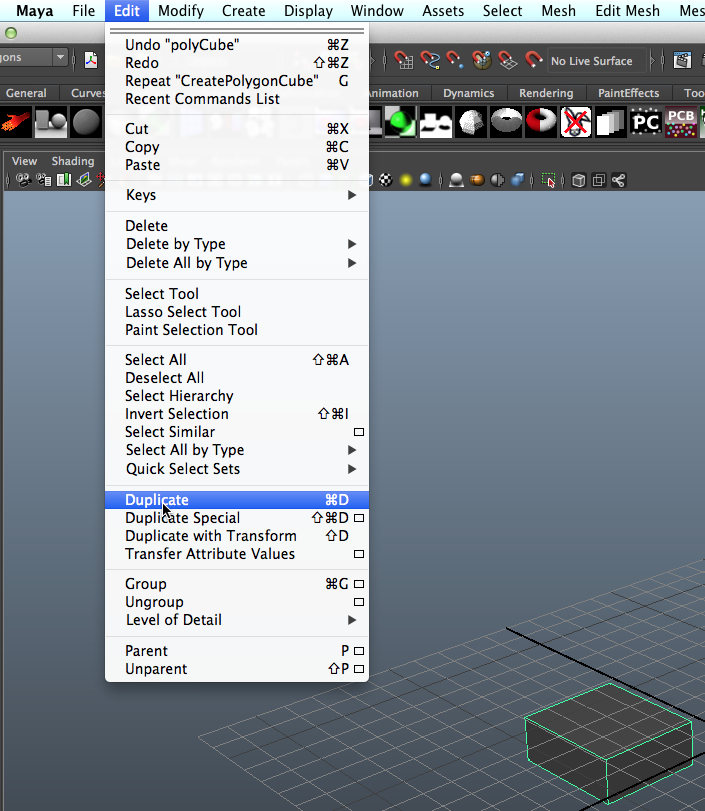
With the cube selected, we select Edit > Duplicate. Now we have two identical cubes.
–
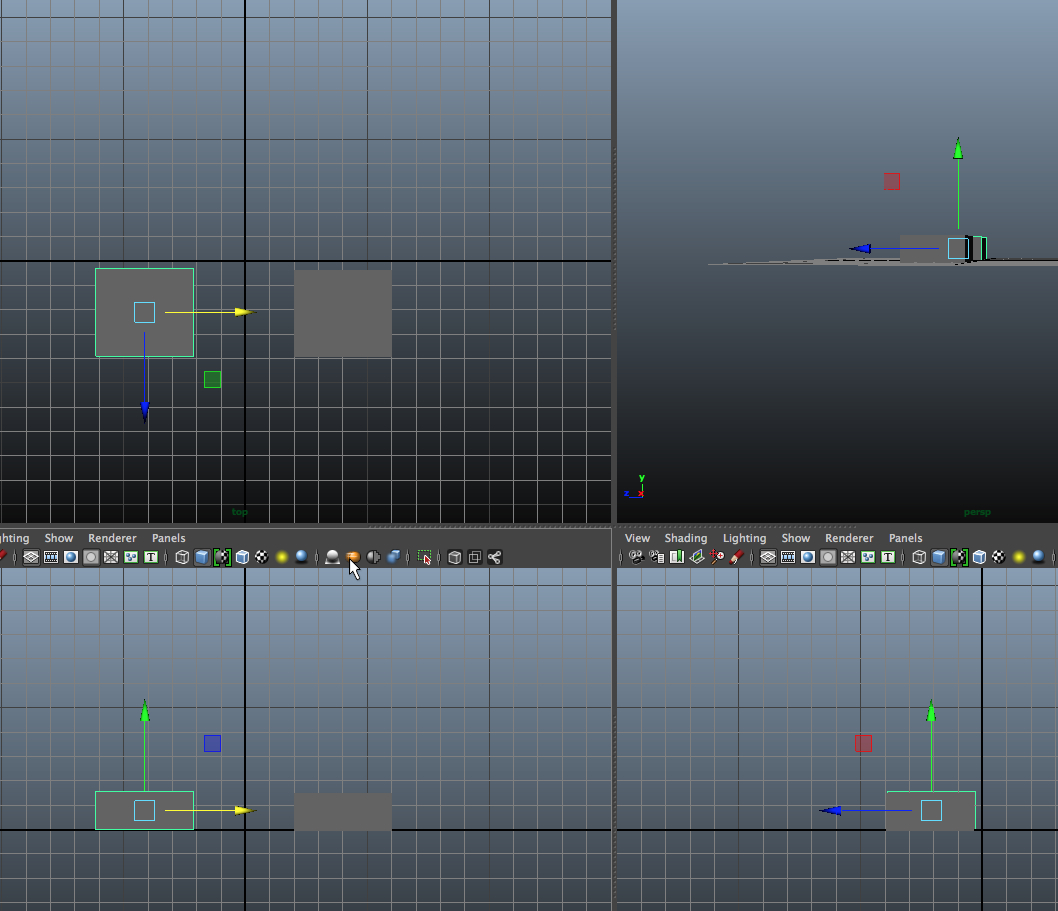
Positioning our two cubes.
Now, we use the four way view to separate our two cubes using the Move tool. We don’t need to put them into any particular locations to create our archway. But it’s always a good idea to position objects in a deliberate fashion, so that later when we are putting more objects into our scene, we don’t need to move objects arbitrarily in 3-space to get the scene configured the way we want it. In this case, we’re keeping our two cubes equidistant from the z-axis and at an identical distance from the x axis.
–
Setting up the Bridge Tool.
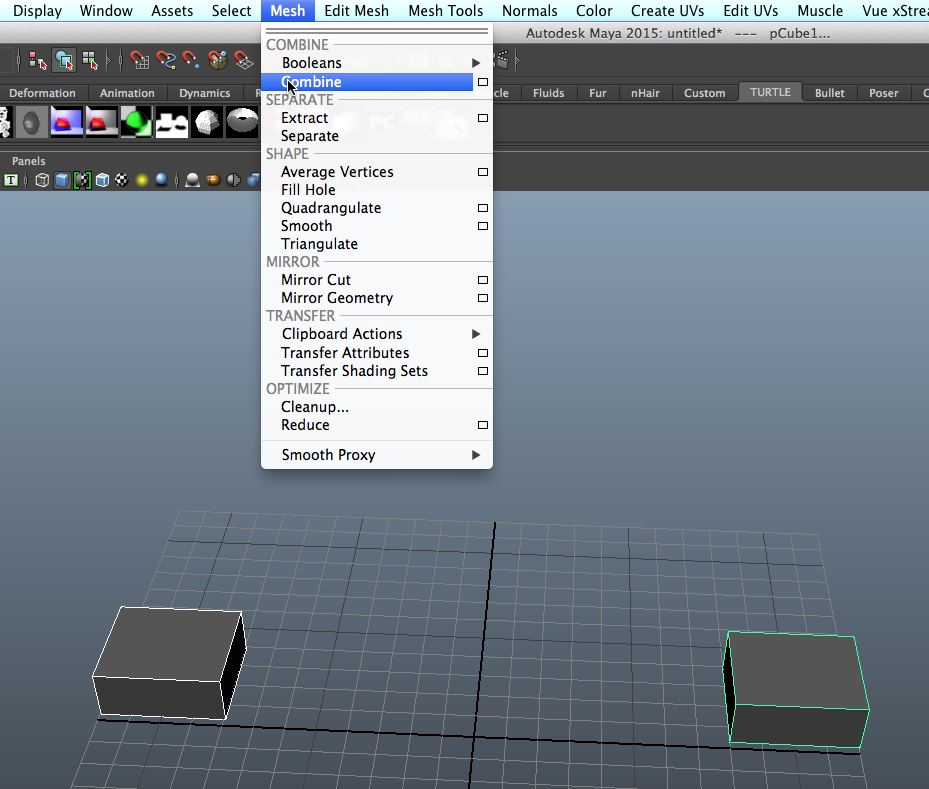
As it turns out, the Bridge Tool that we will use only works on pieces of a single object. So, while still in Object mode, we shift-select the two cubes and select Mesh > Combine.
(If we need to, we go into object mode, as shown.)
–
Increasing the height of the side pillars of the arch.
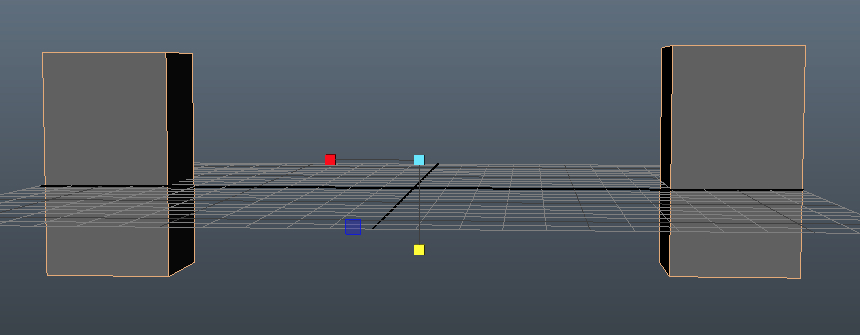
We have already placed our cubes so that they are at the same height in the x-z plane; this will make it easier to ensure that our arch will not be lopsided. We don’t want our archway to begin its sweep close to the ground, so while we still have the two cubes (which are now part of a single object) selected, we use the Scale tool to make them both taller. We note that the two cubes still have the same height, so our archway will not be lopsided.
–
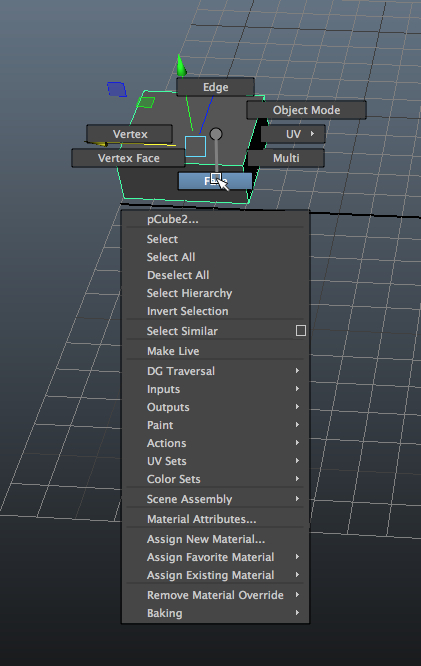
Now, we click click and go into Face mode, because that is what the Bridge Tool is going to act on – two faces.
–
The Bridge Tool: making the archway.
Now, we right click and go into Face mode, because this is what the Bridge Tool is going to act on – two faces.
–
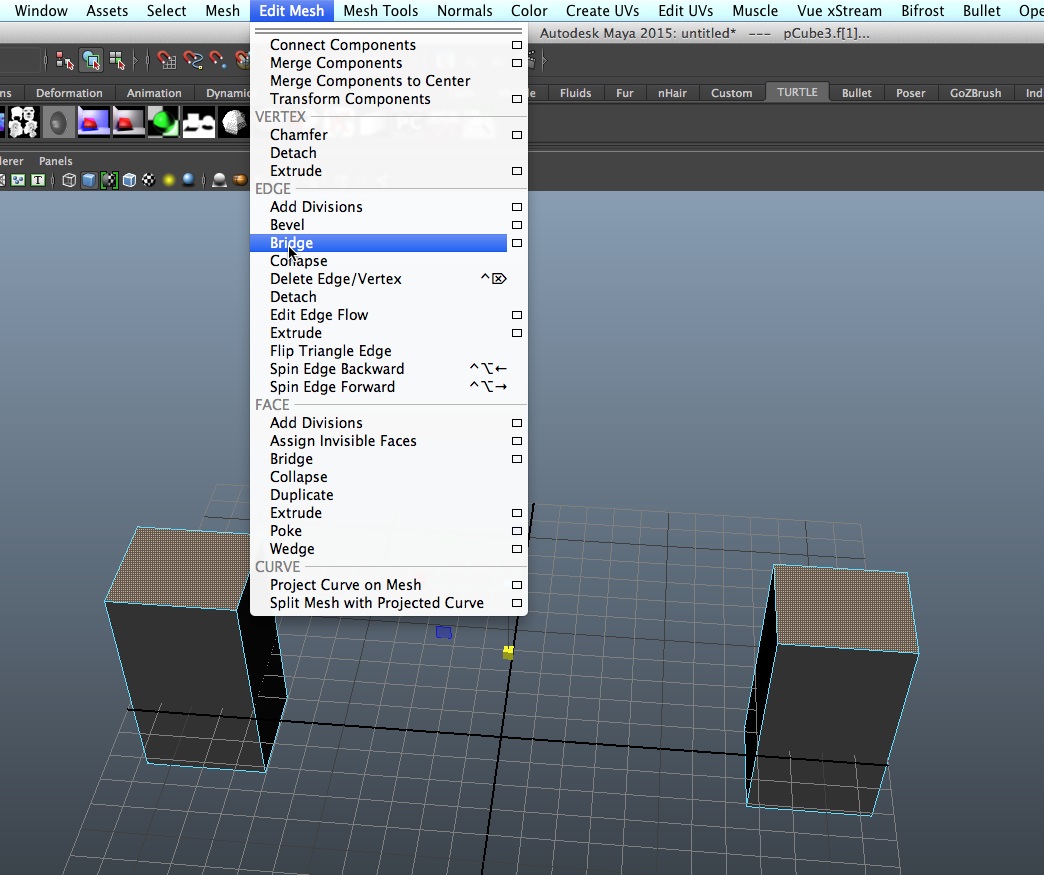
With the top faces of the two cubes shift-selected, we select Edit Mesh > Bridge, and we click on the little box at the right side of the menu selection, so that we can adjust the tool’s settings.
–
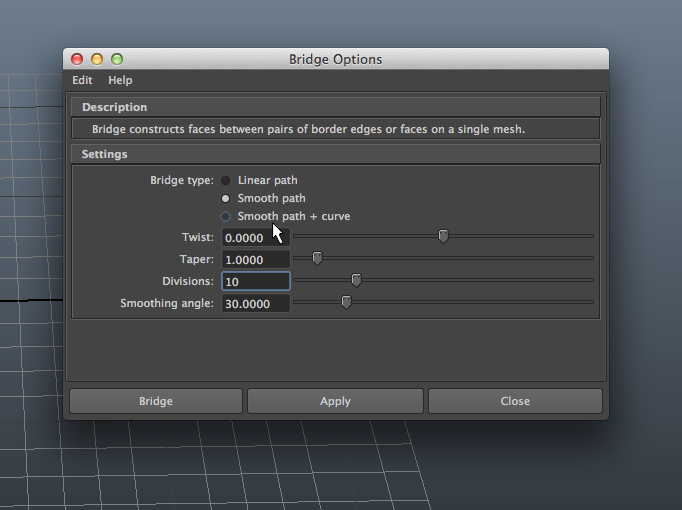
We set the number of divisions to 10. We also choose Smooth Path.
–
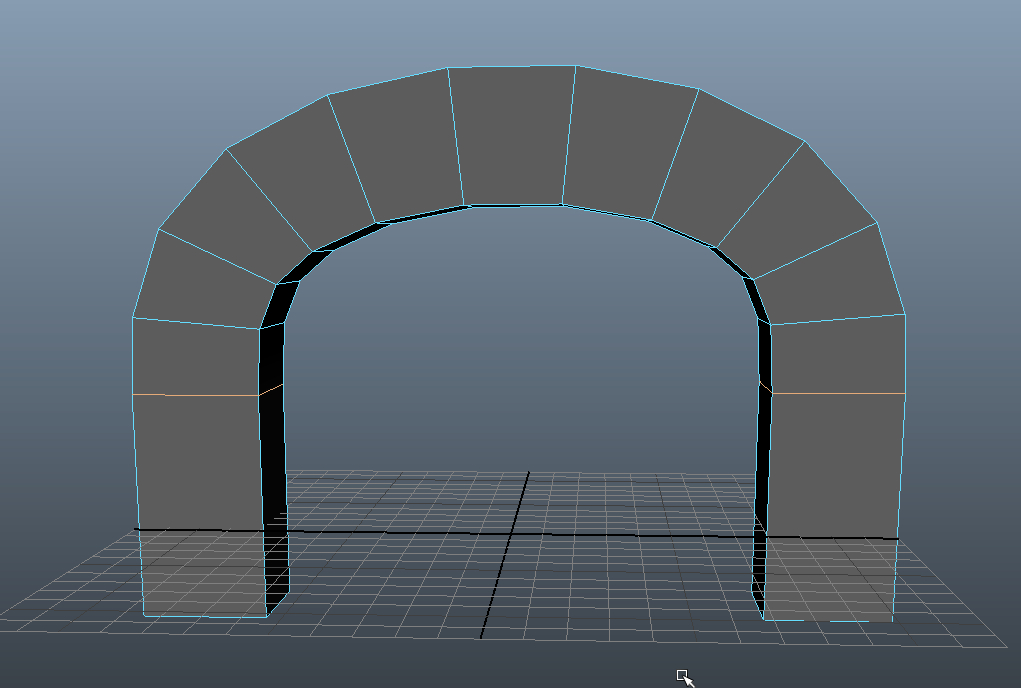
Then, we hit Bridge, and boom, we have an archway!
–
An example arch.
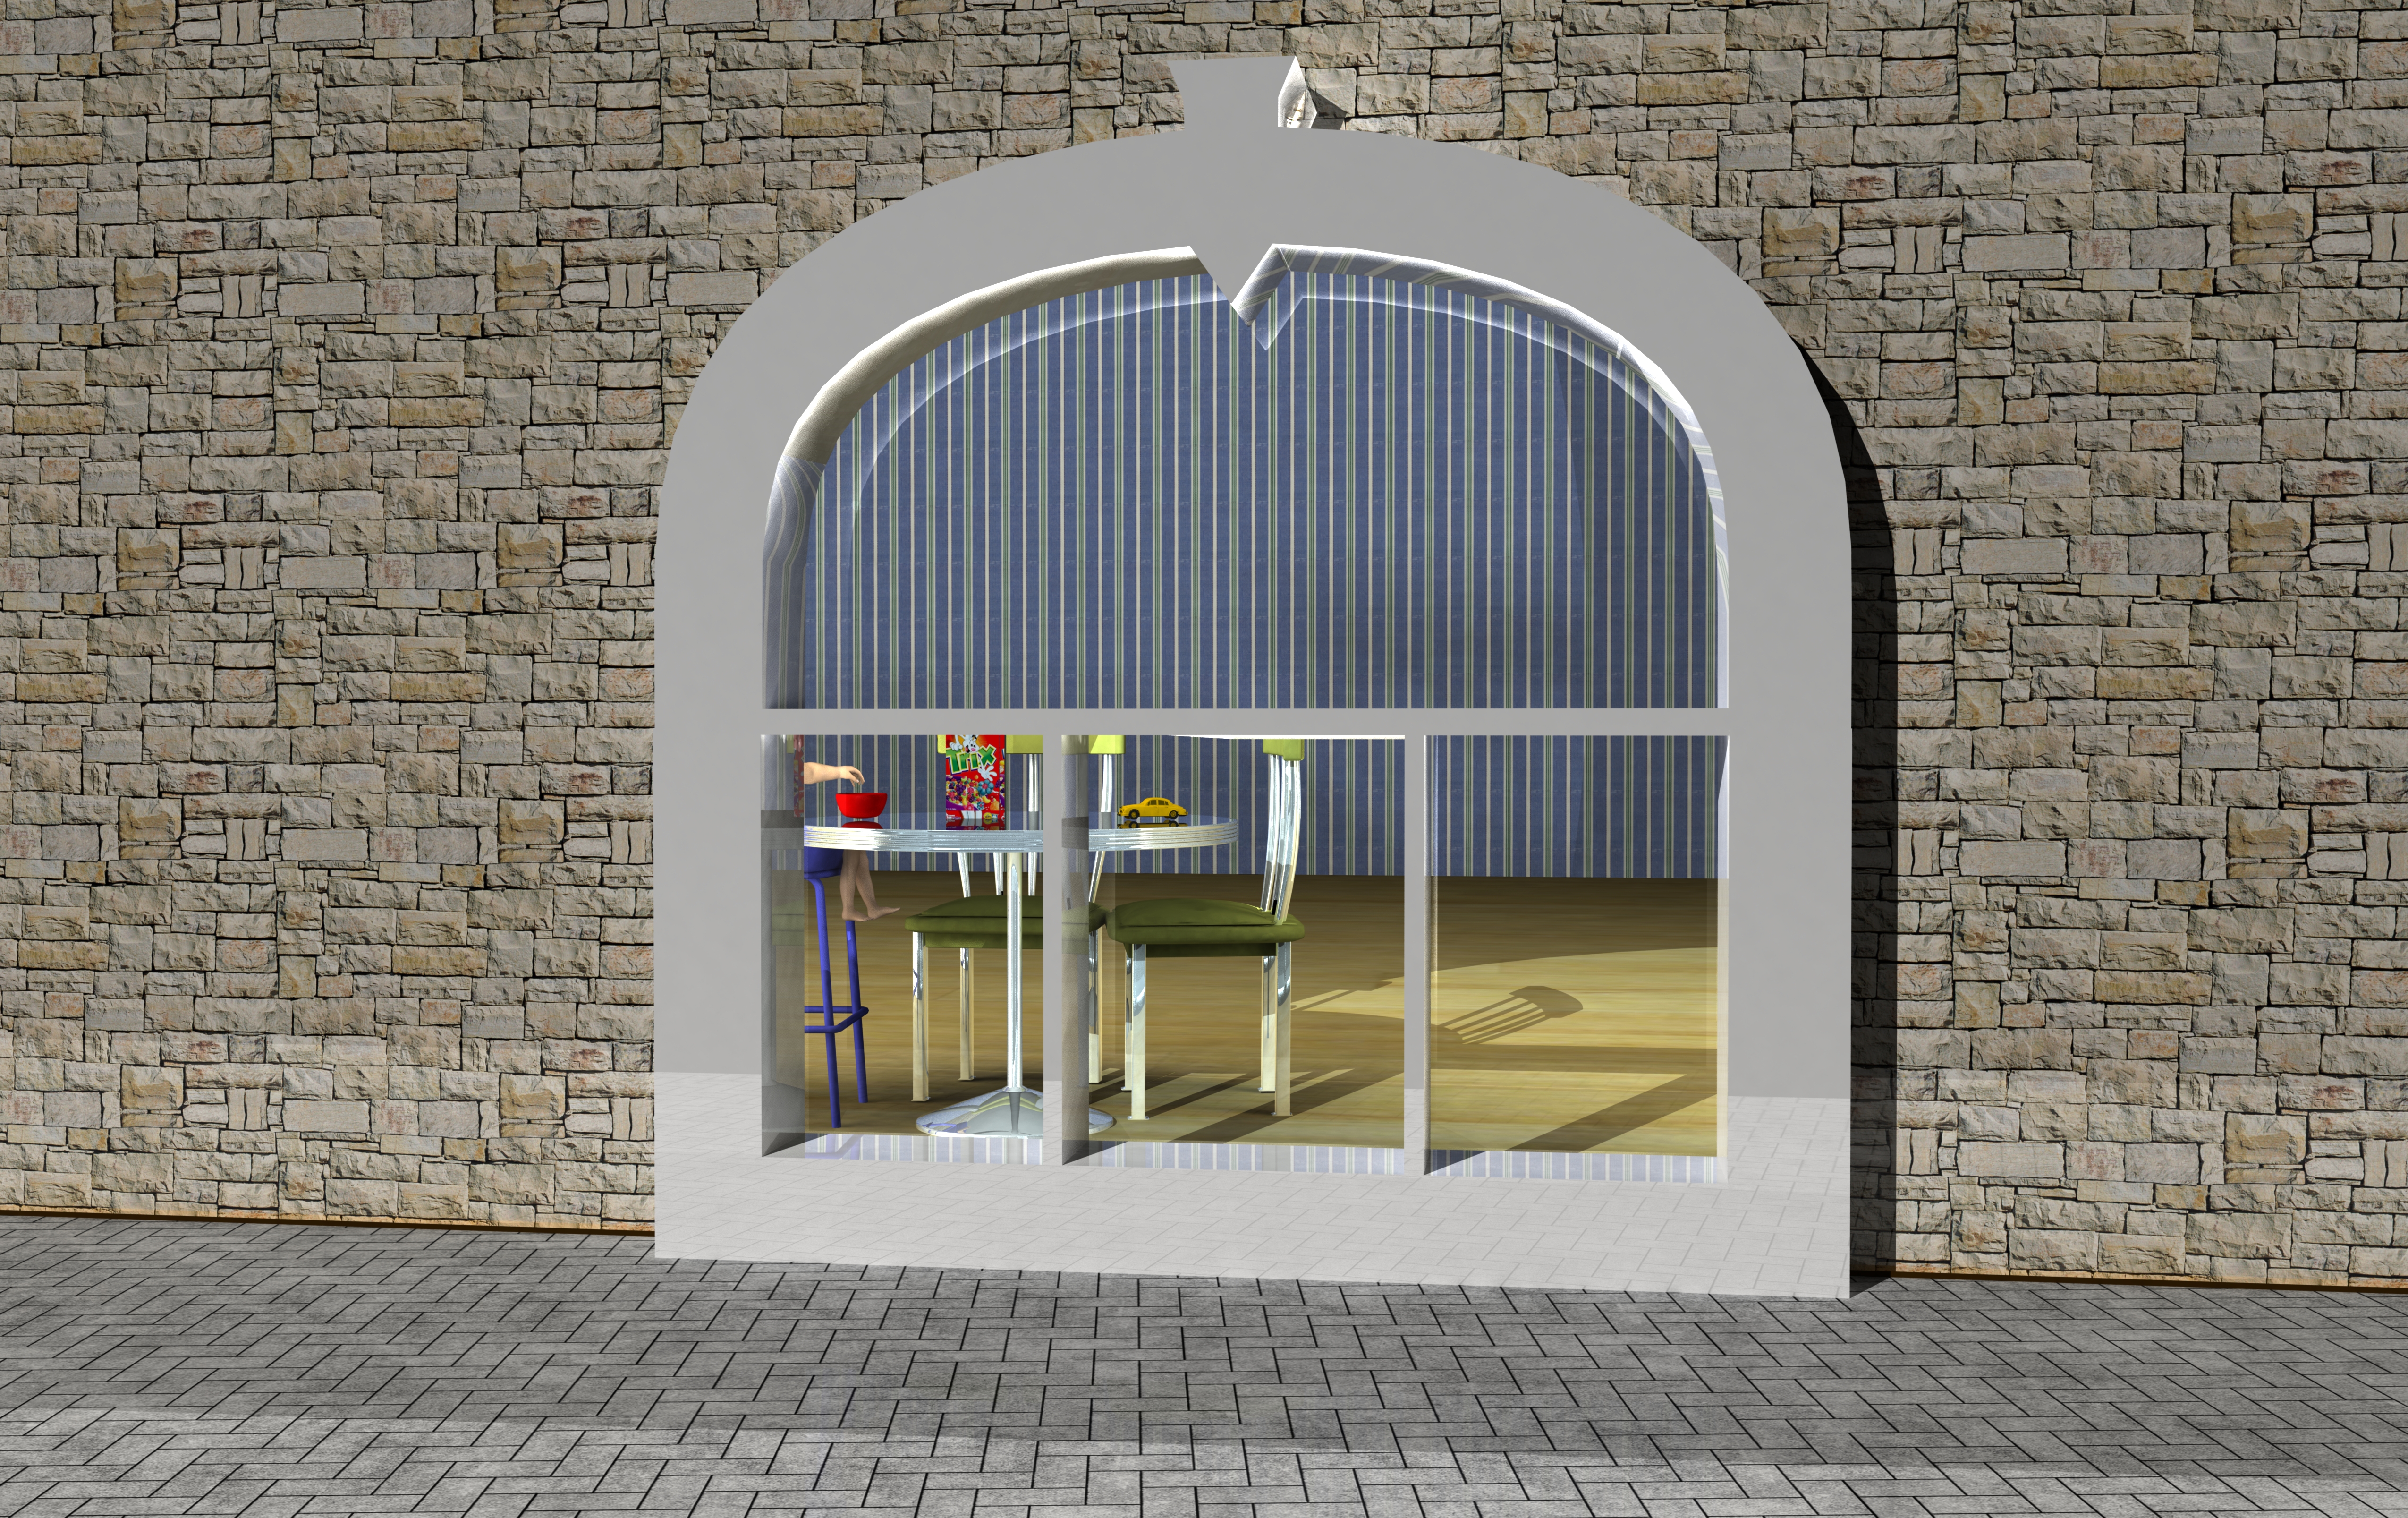
Here’s a model with an arch made using this technique. It was rendered with mental ray.


