2D and 3D renderings

Close up of a house

This is a single frame from an animation that was made with Maya and rendered with mental ray.  The little boy in the window is eating Trix while swinging his legs under the table.

You can click on these images to blow them up.

Here are two minor variations, with the wood trim around the window colored differently and with a cement-textured bump map added:

3D animation tutorials

More on bump maps

When to use bump maps.

This was made with Maya and rendered with mental ray.

The stone walls have a heavy bump map.  The material was made with a tileable stone texture and the bump map was made from the same seamless texture.

The bed was sculpted with the Maya sculpting tool found in Modeling under Surfaces.  The bedspread material is made from a seamless cloth texture and the bump map for it was made from the same seamless texture.

The cement floor was made from a seamless cement texture and again, the same texture was used to make a bump map.

The sink/toilet combo and the metal bars were made with mental ray “paint” materials.  Since they are smooth and shiny, they are not bump mapped.

This images can be clicked on to blow them up.

Here are two variations:

3D animation tutorials

More on bump maps

Bump maps on plaster, metal, stone, and mortar.

The image below was made in Maya and rendered with mental ray.  The plants inside the building were made with PlantFactory.

The blue and white plasters were made with two seamless plaster textures used as the color of two mental ray materials.  Each material has a bump map made from the plaster texture used for its color.

The roof of the structure was made with a gold steel seamless texture used as the color of a Blinn.  The reflectivity, eccentricity, and specular rolloff were cranked up to make the material shiny.  The same gold steel texture was used to give the roof a deeper sense of depth.

You can click on this image to blow it up:

Below is a close-up of the front of the structure.  Note the heavy use of bump maps in the stone and mortar on the top of the arches.  This is crucial to making them look realistic.  Again, you can click on this image to blow it up.

3D animation tutorials

Bump maps in Maya & using Photoshop to layer a texture

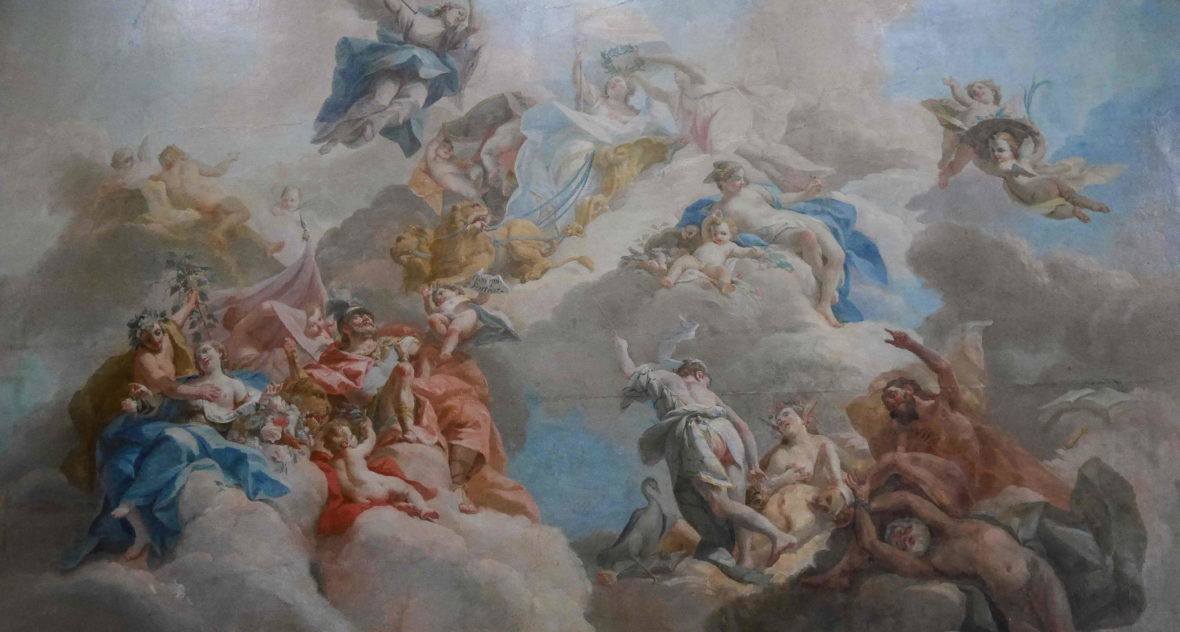
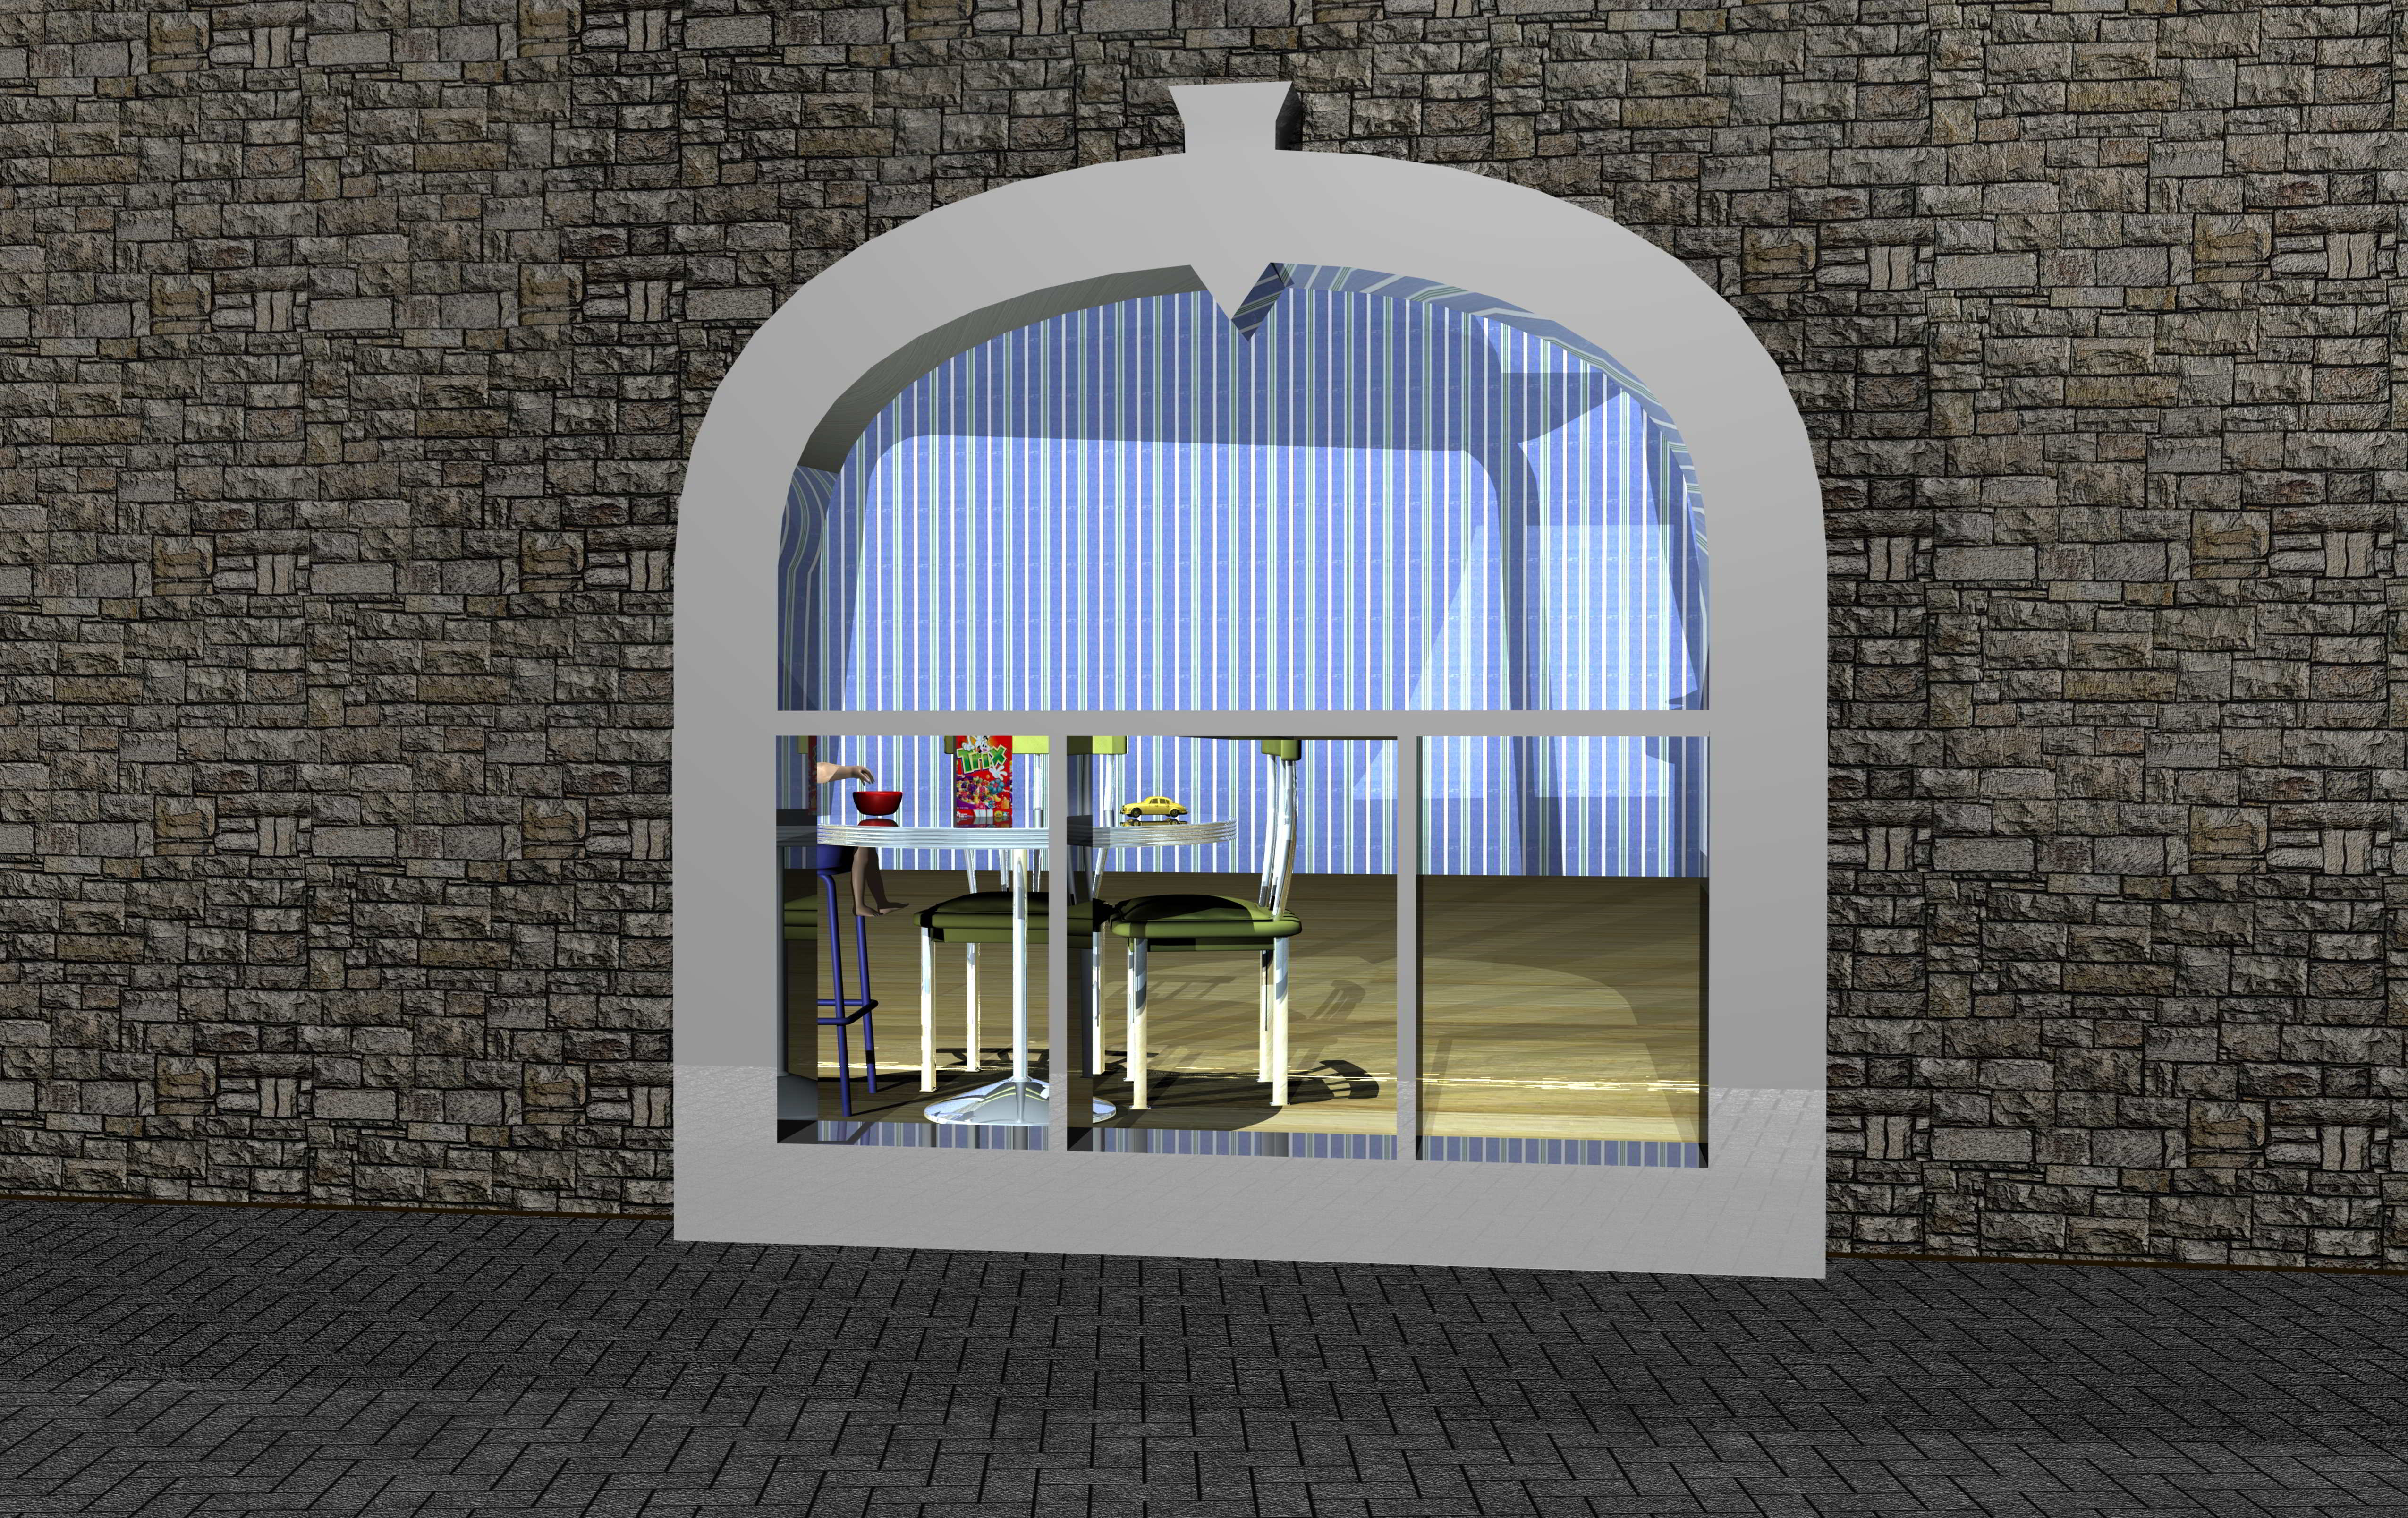
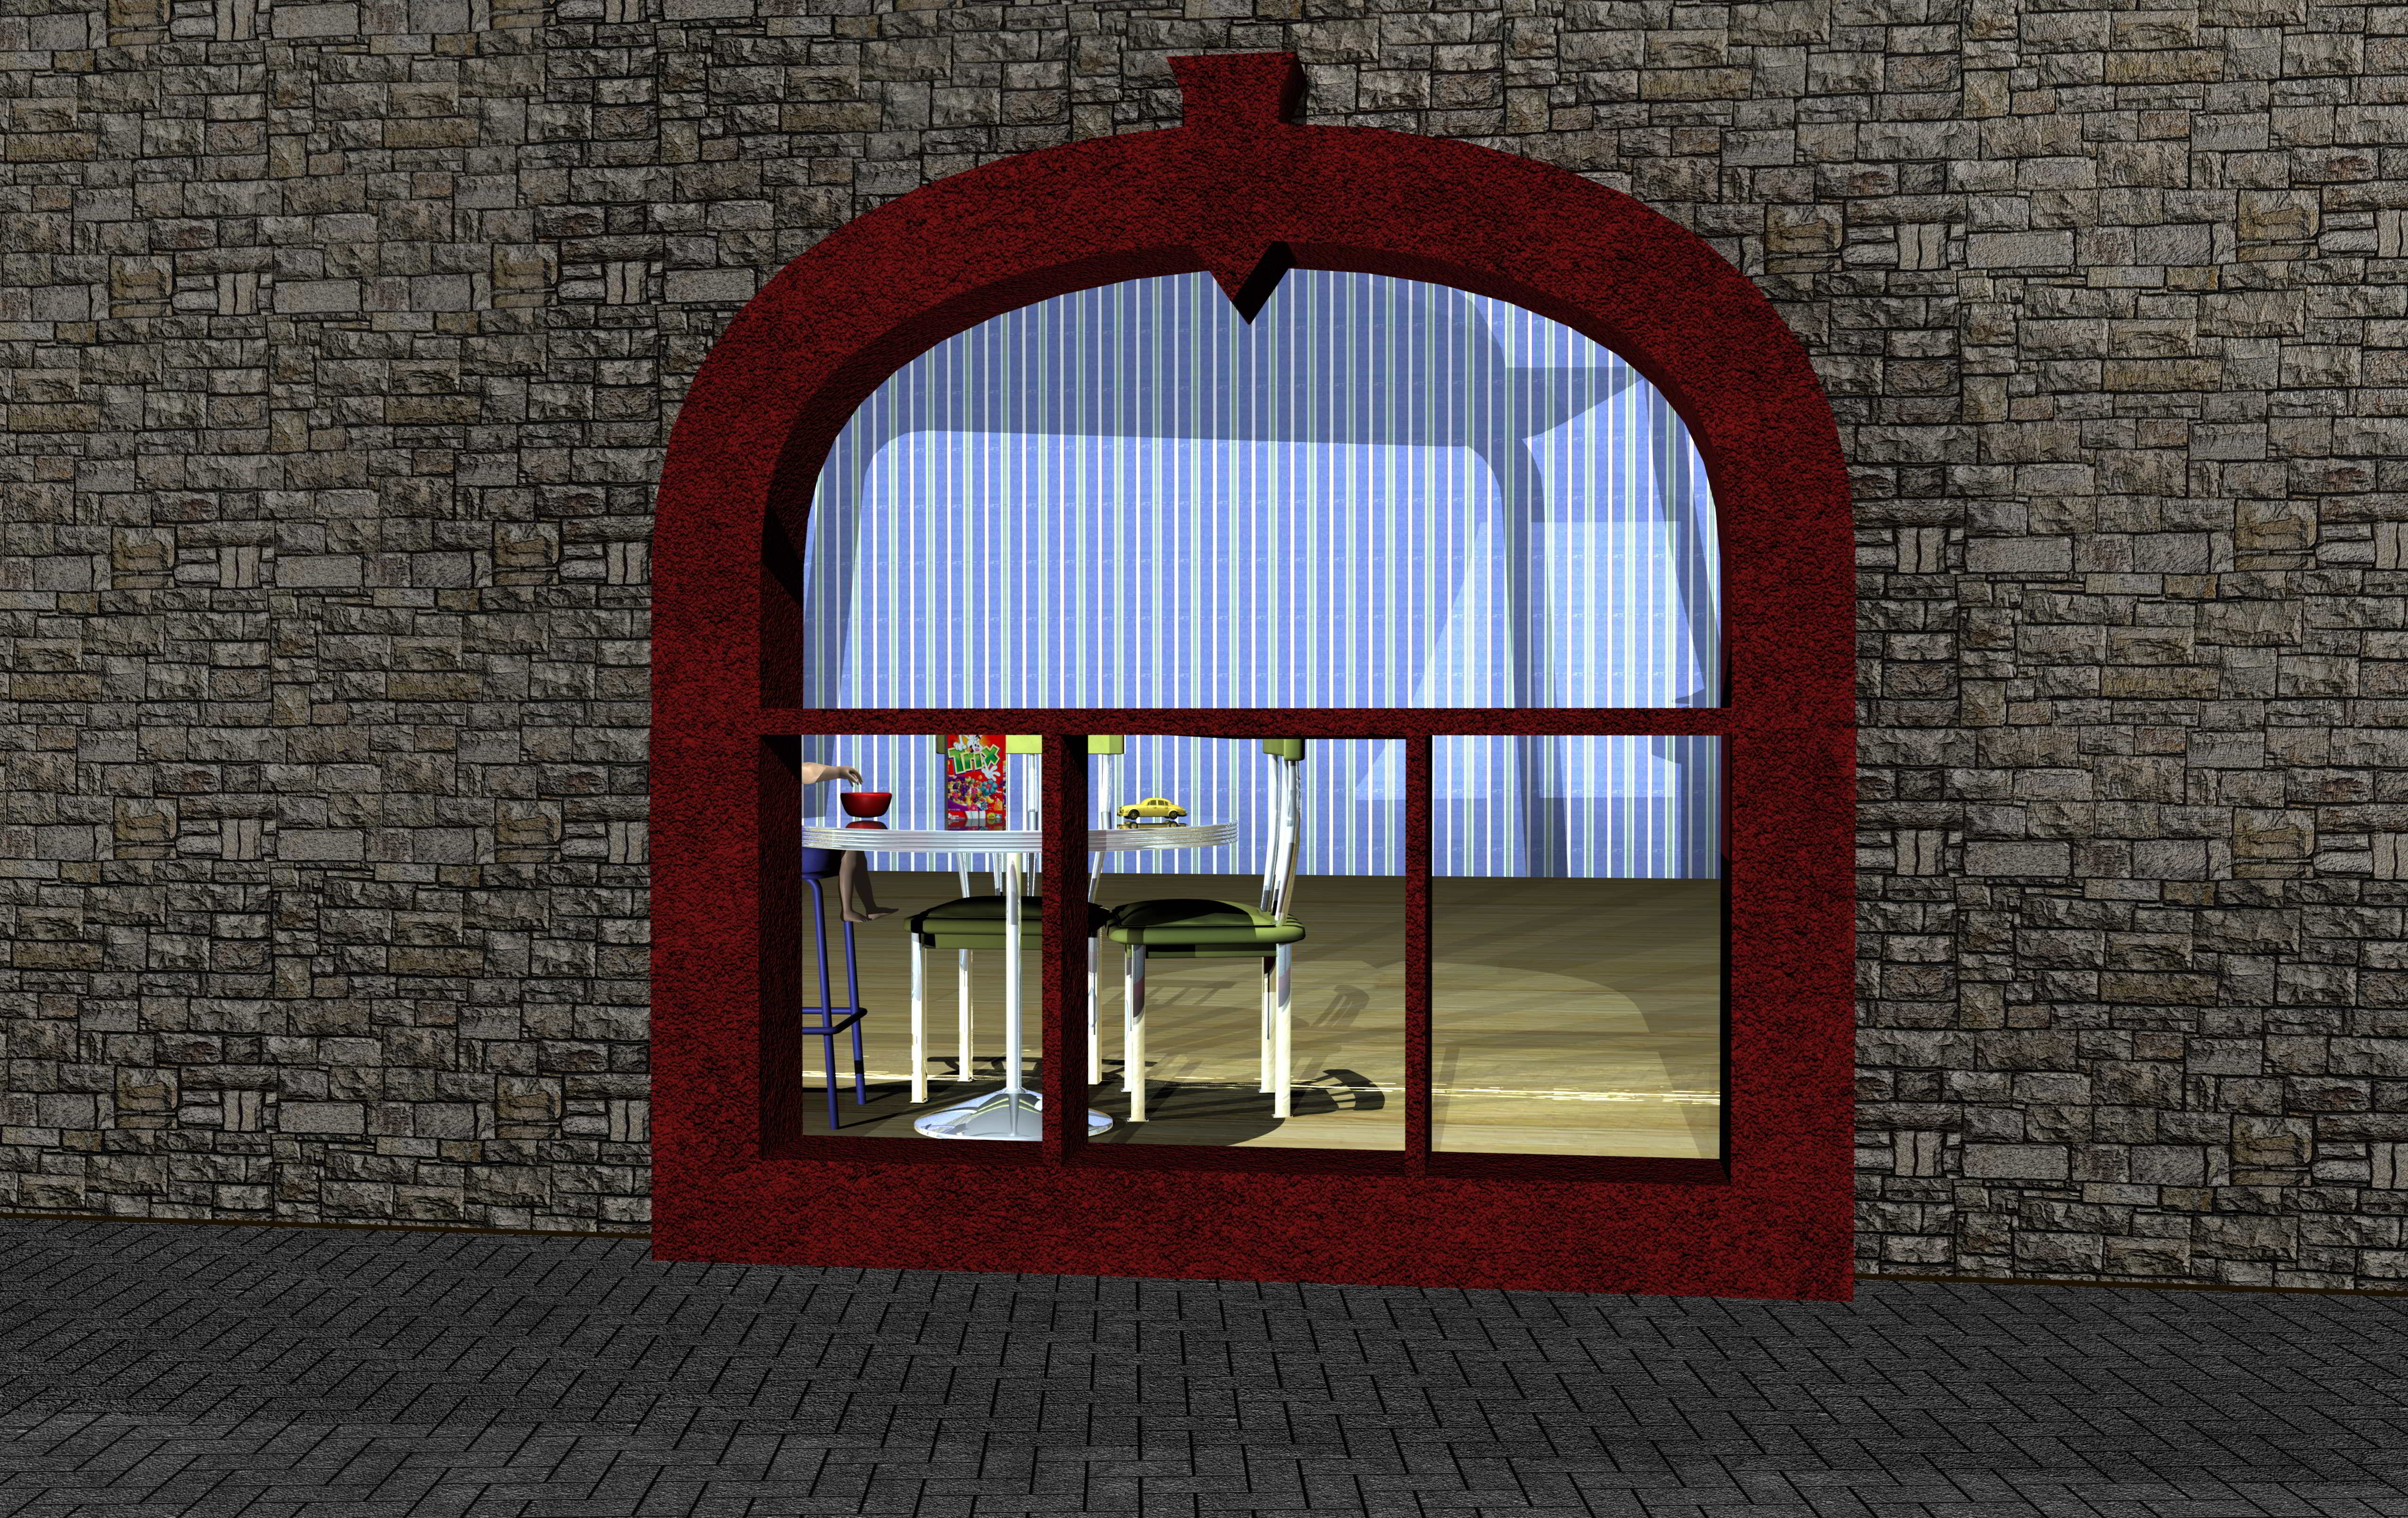
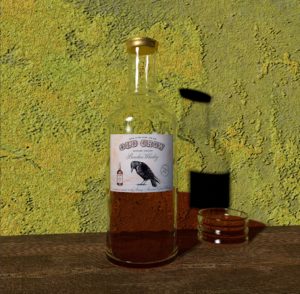
Bump mapping and layered textures.

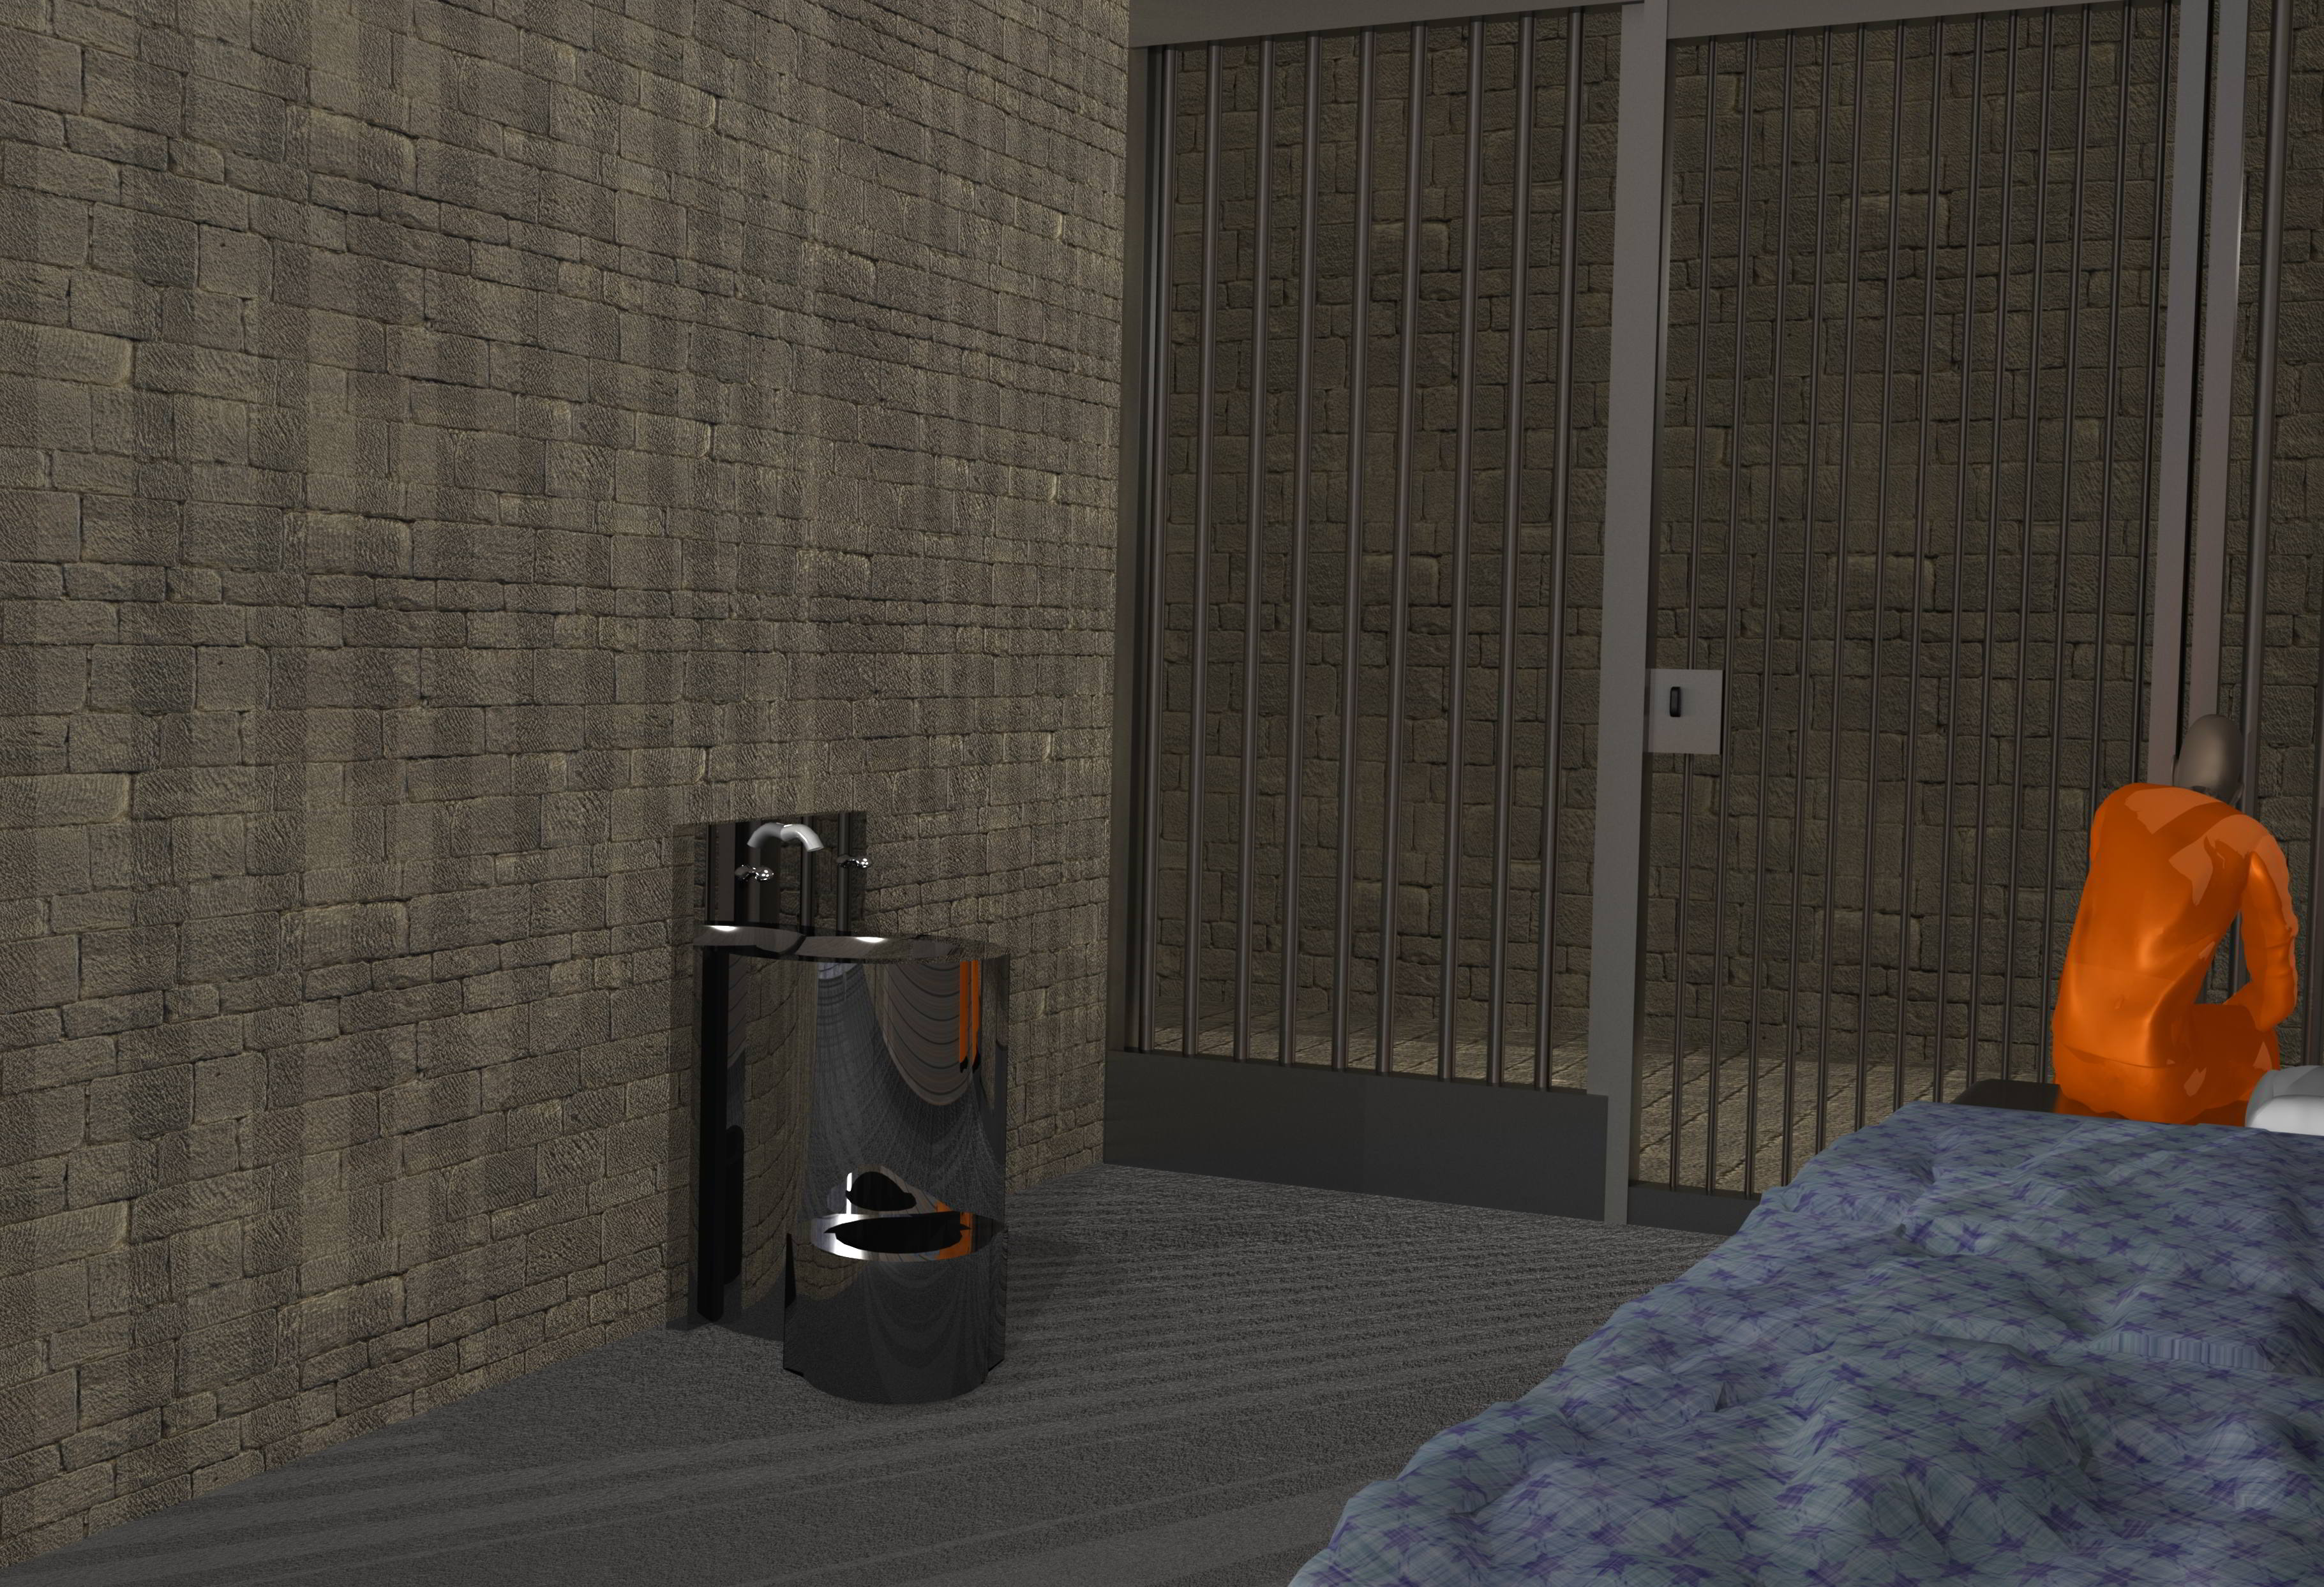
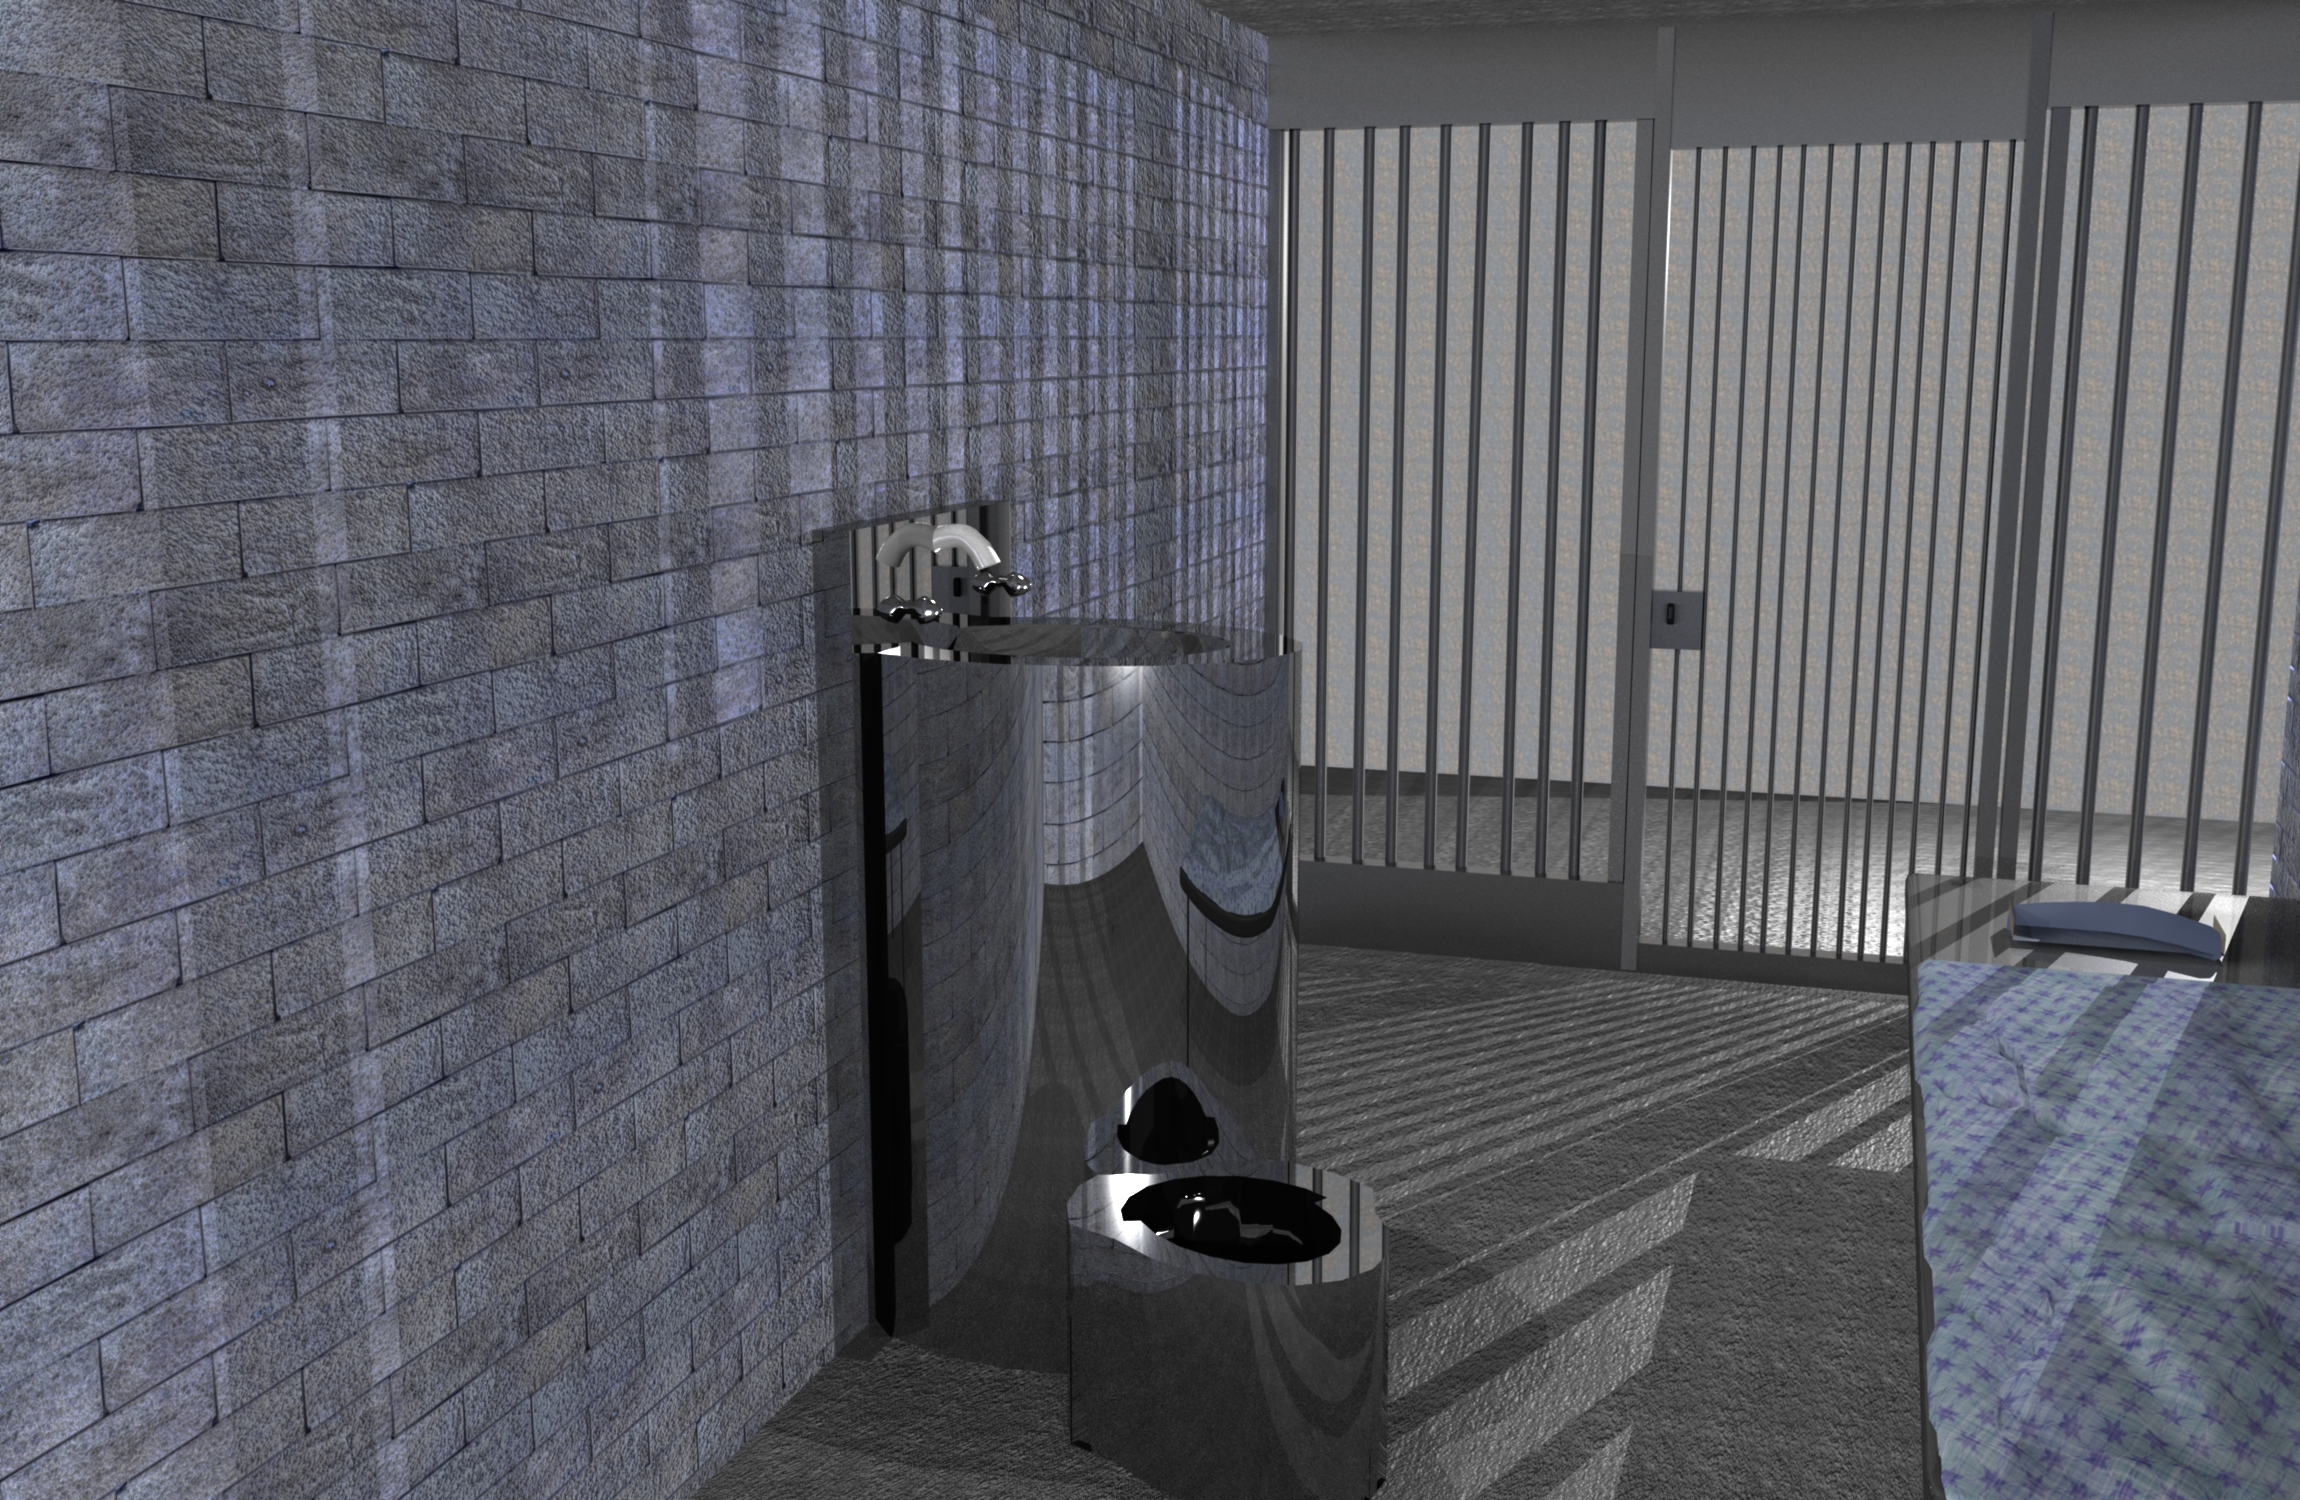
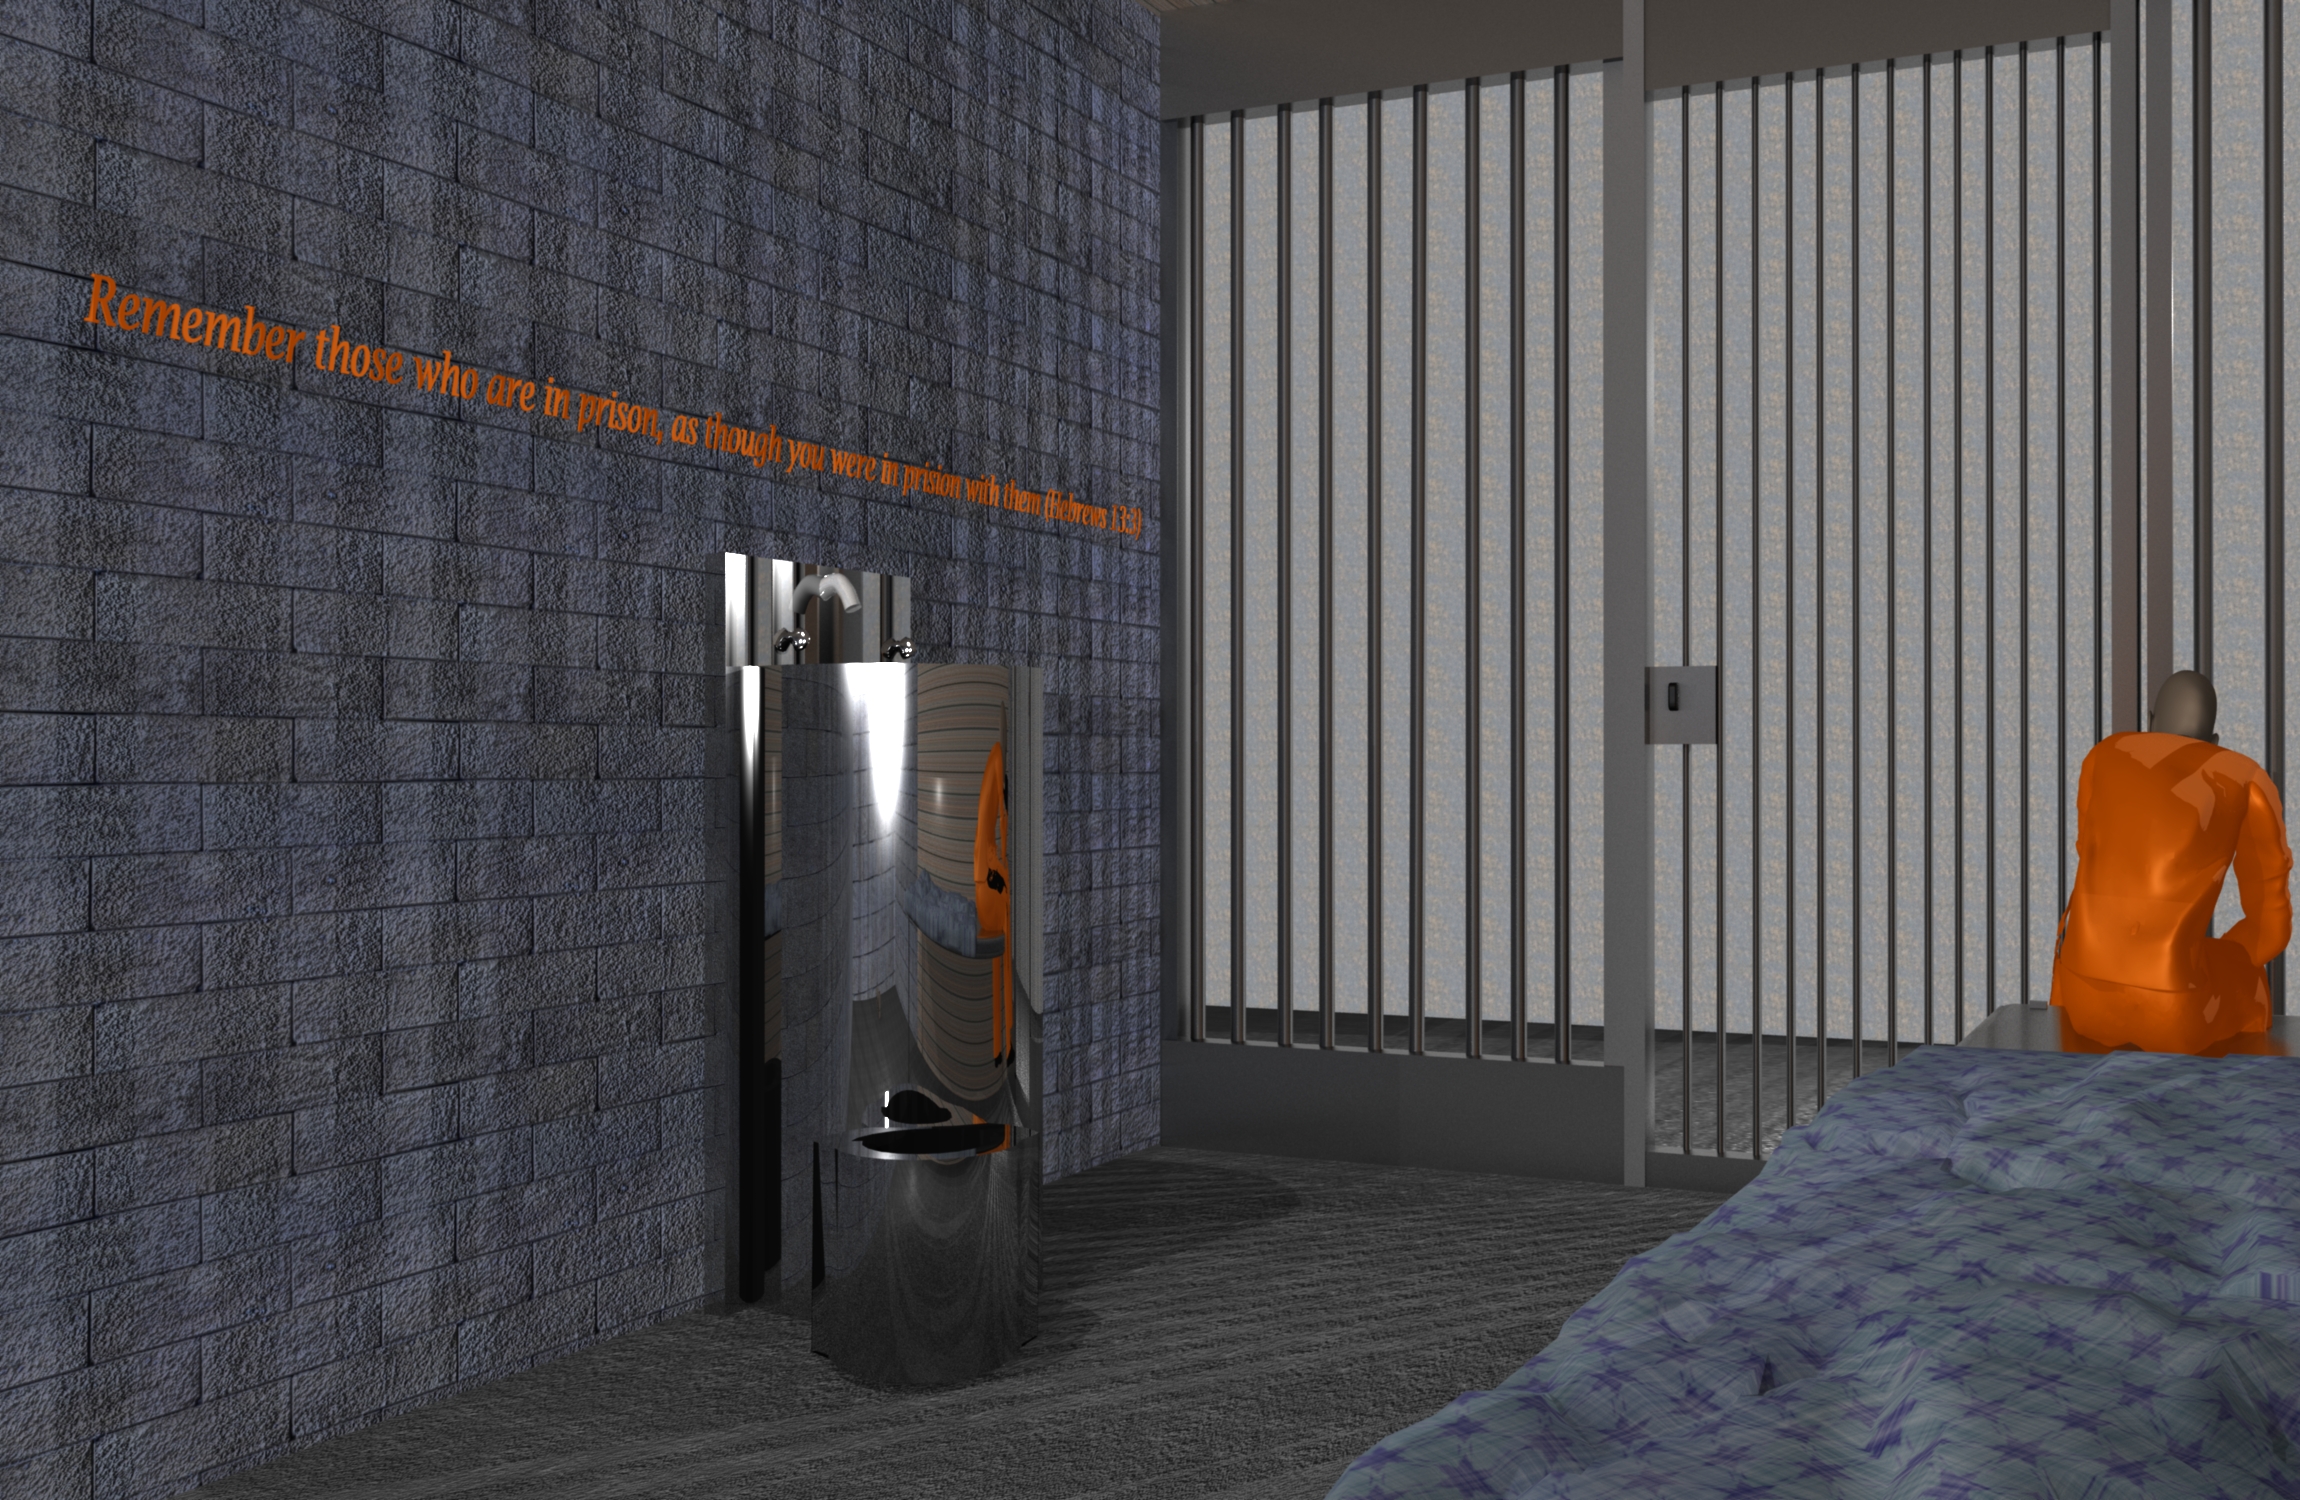
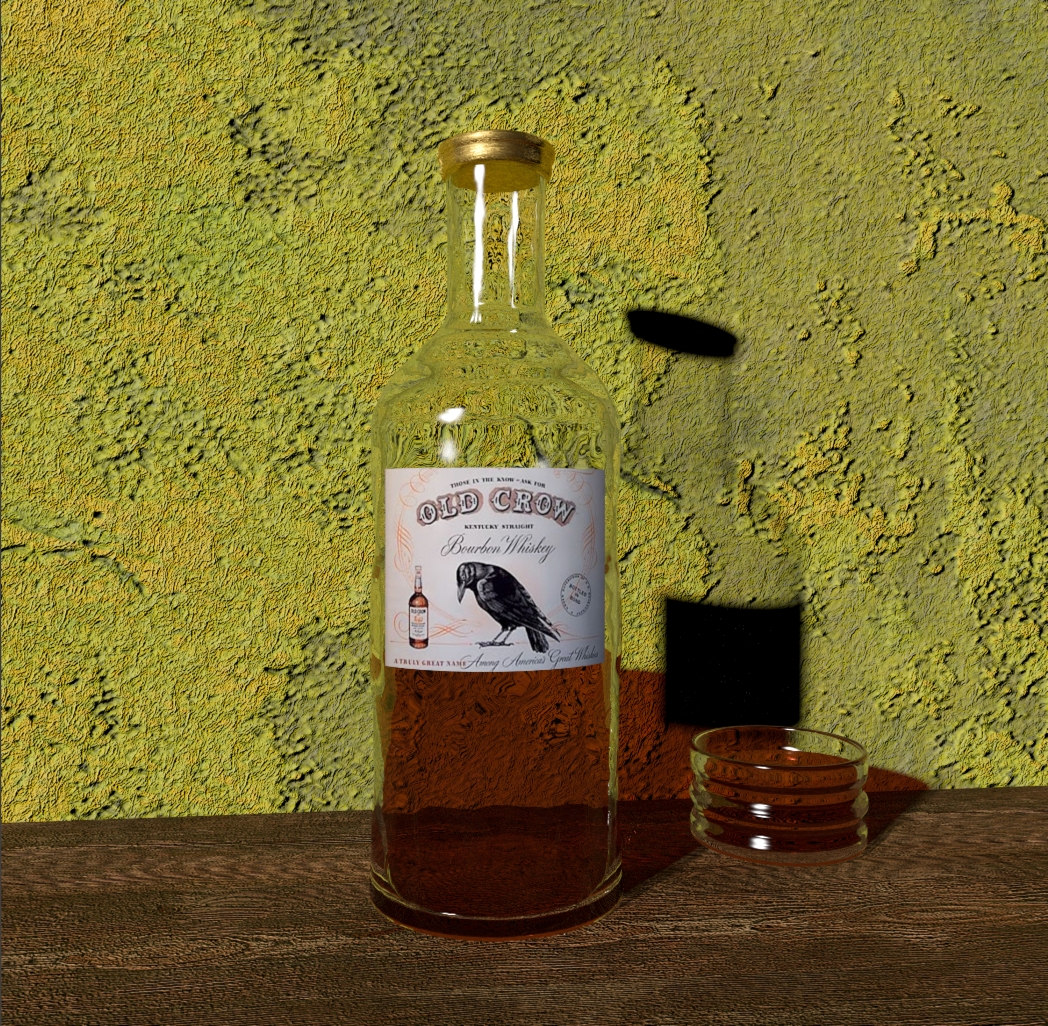
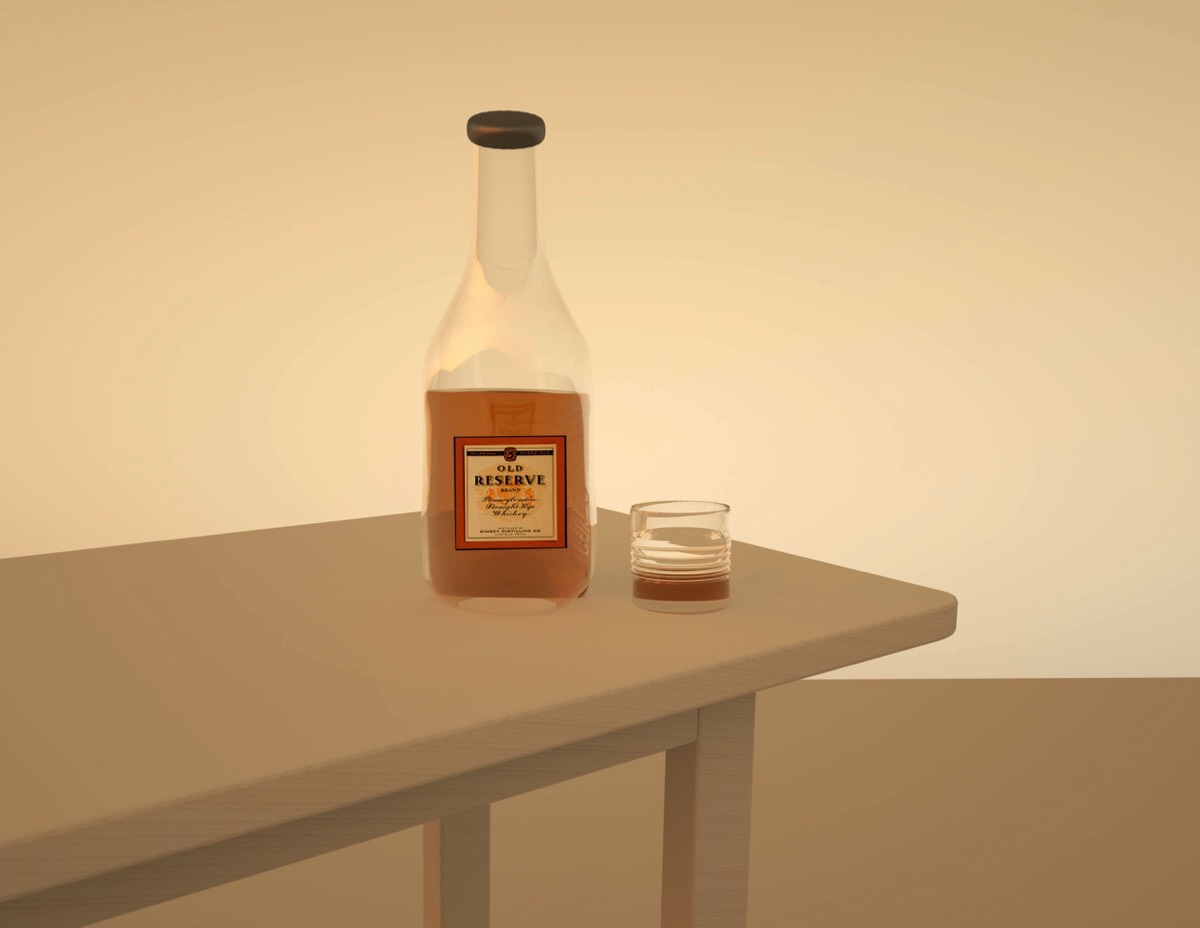
The back wall on in this scene is made with a Blinn, with a layered textured made in Photoshop used as its color.  A bump map was added to the Blinn.

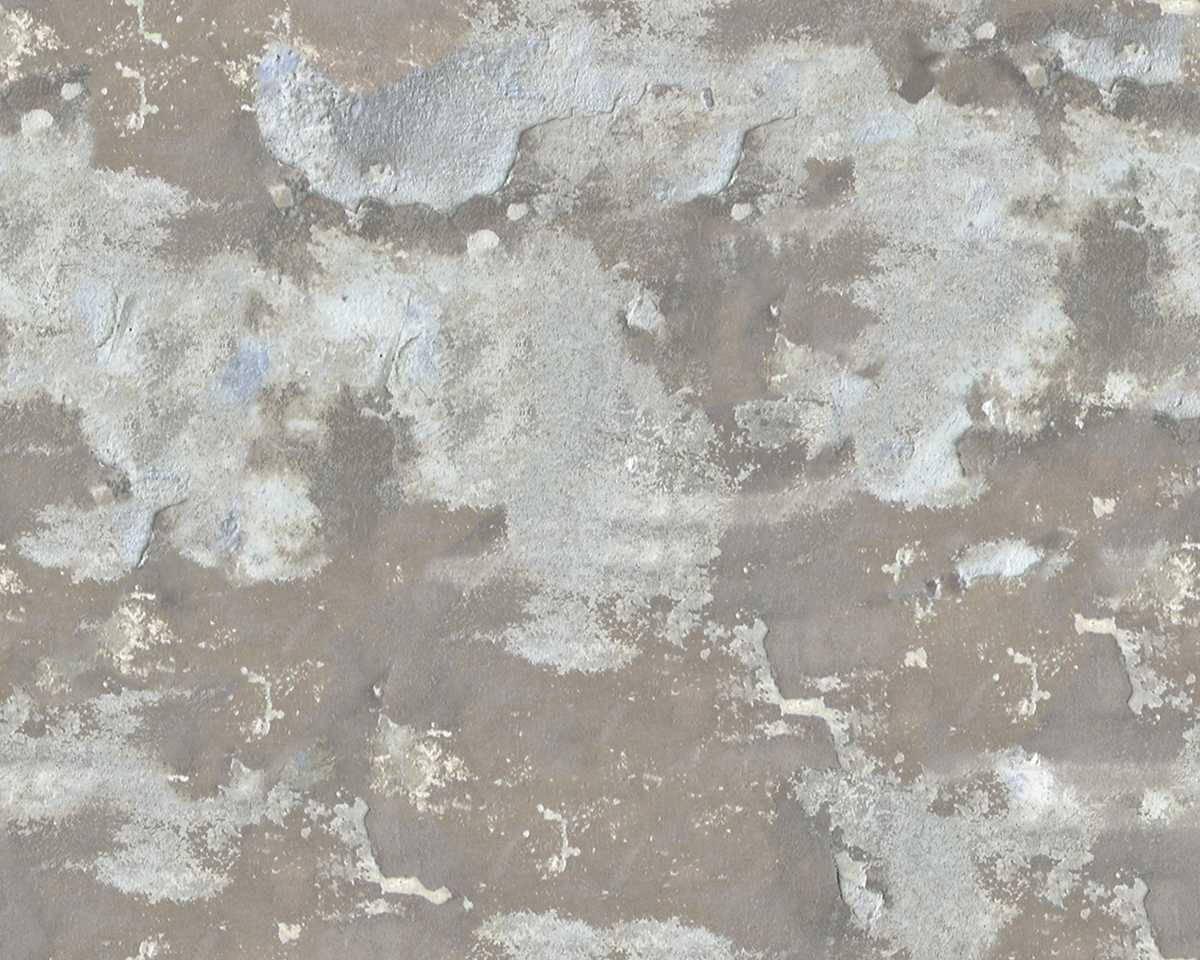
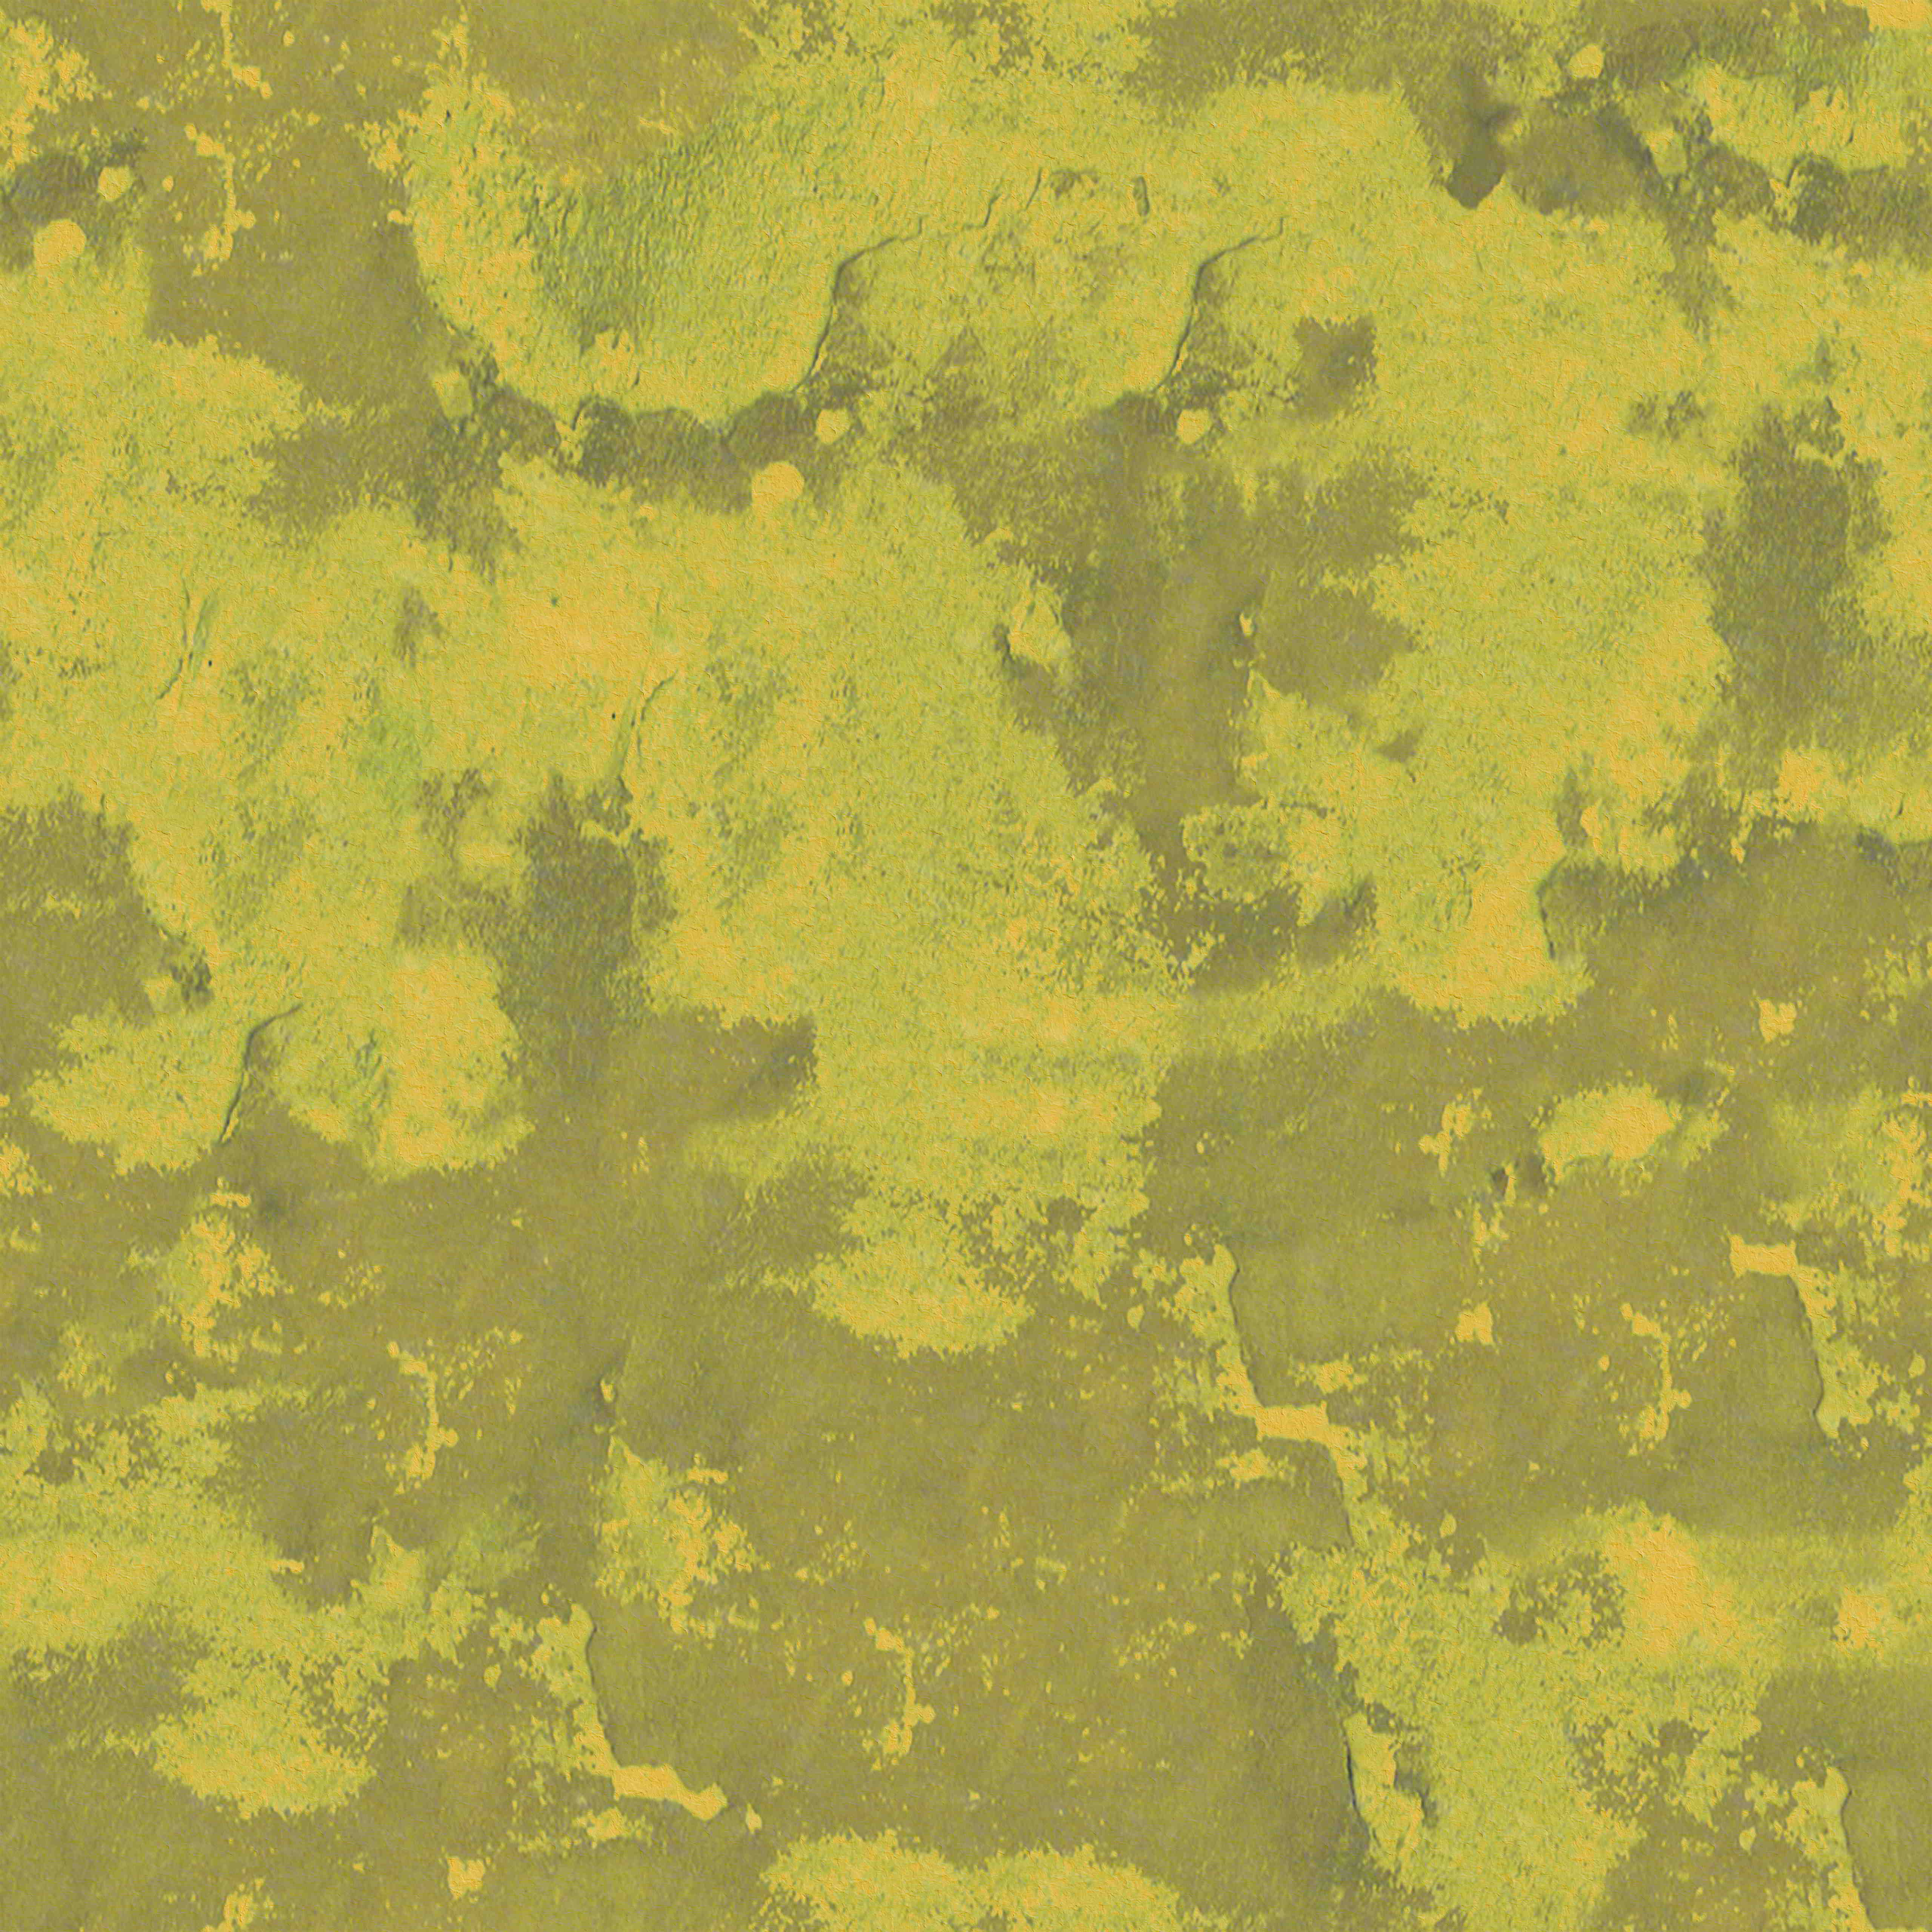
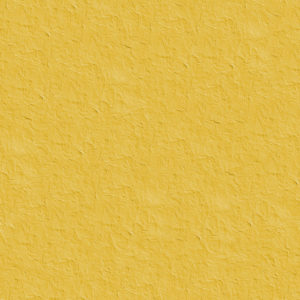
The layered texture was made with a yellow paster seamless texture, with a added Darken layer consisting of a damaged plaster seamless texture.

Immediately below is the original yellow plaster texture, followed by the damaged plaster texture.

Below those are the final layered texture output by Photoshop, followed by the final texture’s bump map.

The bottle is a revolved NURBS surface with a mental ray glass material.

The desktop is a wood seamless texture with a bump map made from the same texture.

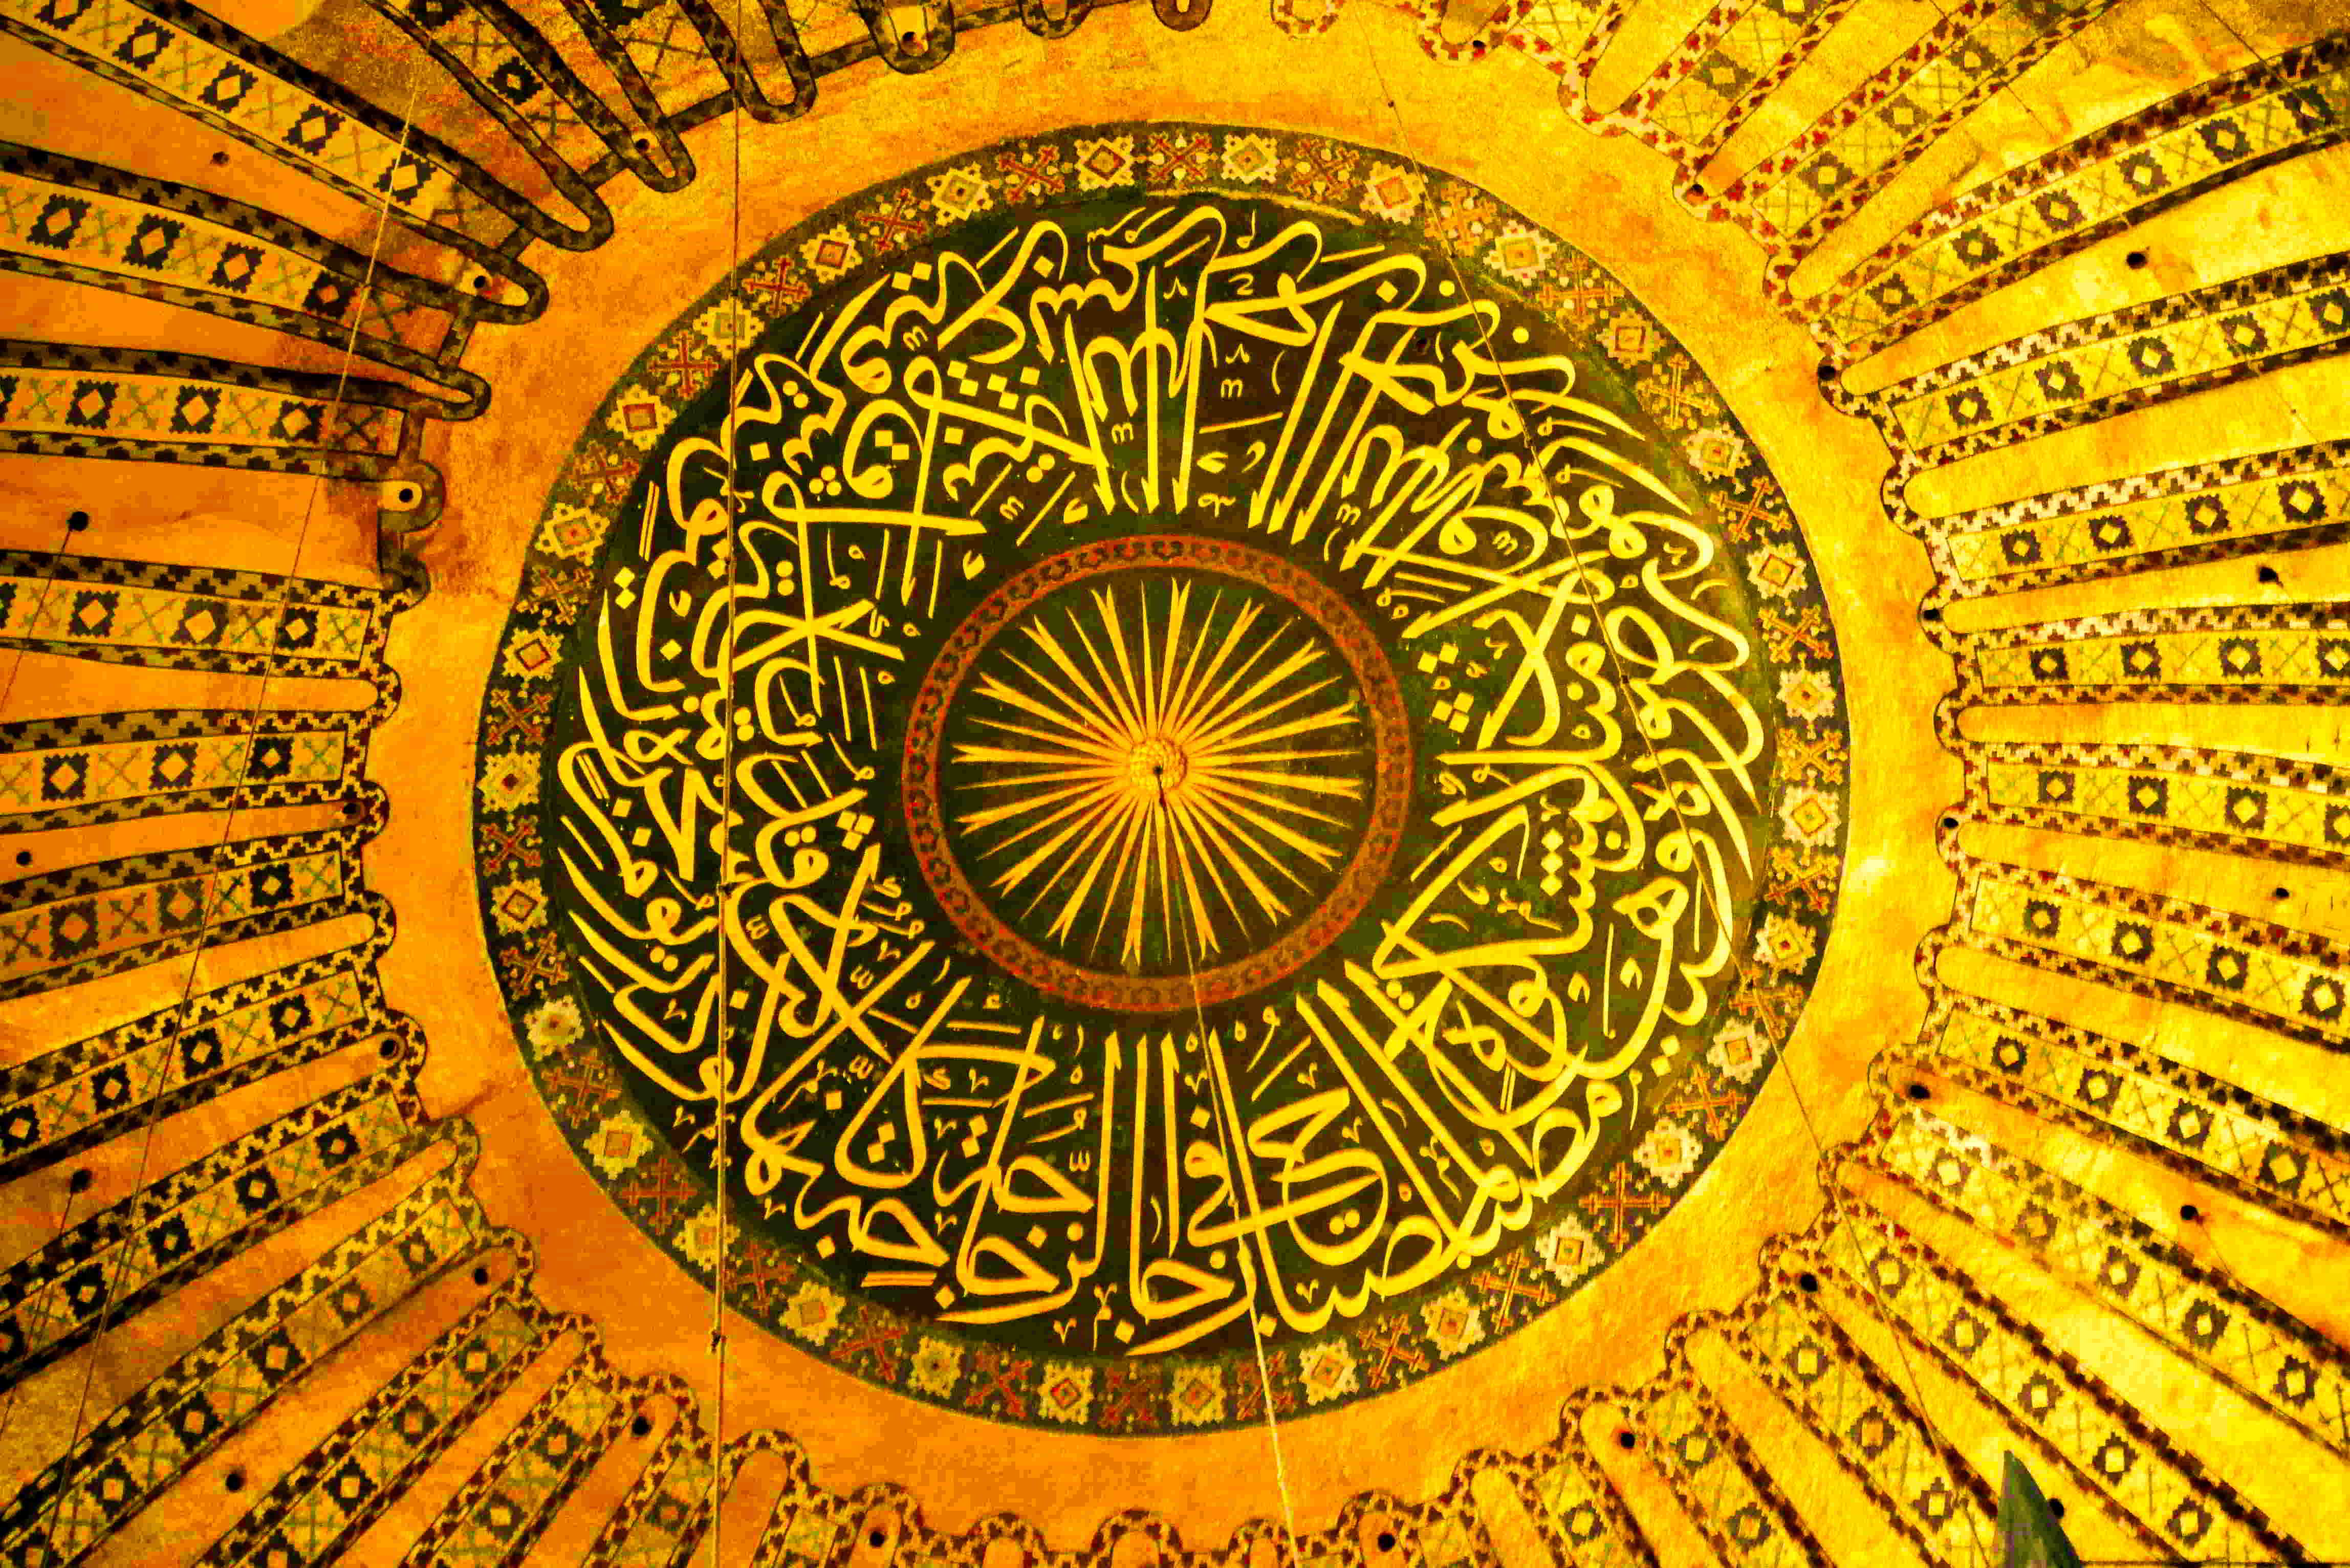
The original yellow paster, before layering.

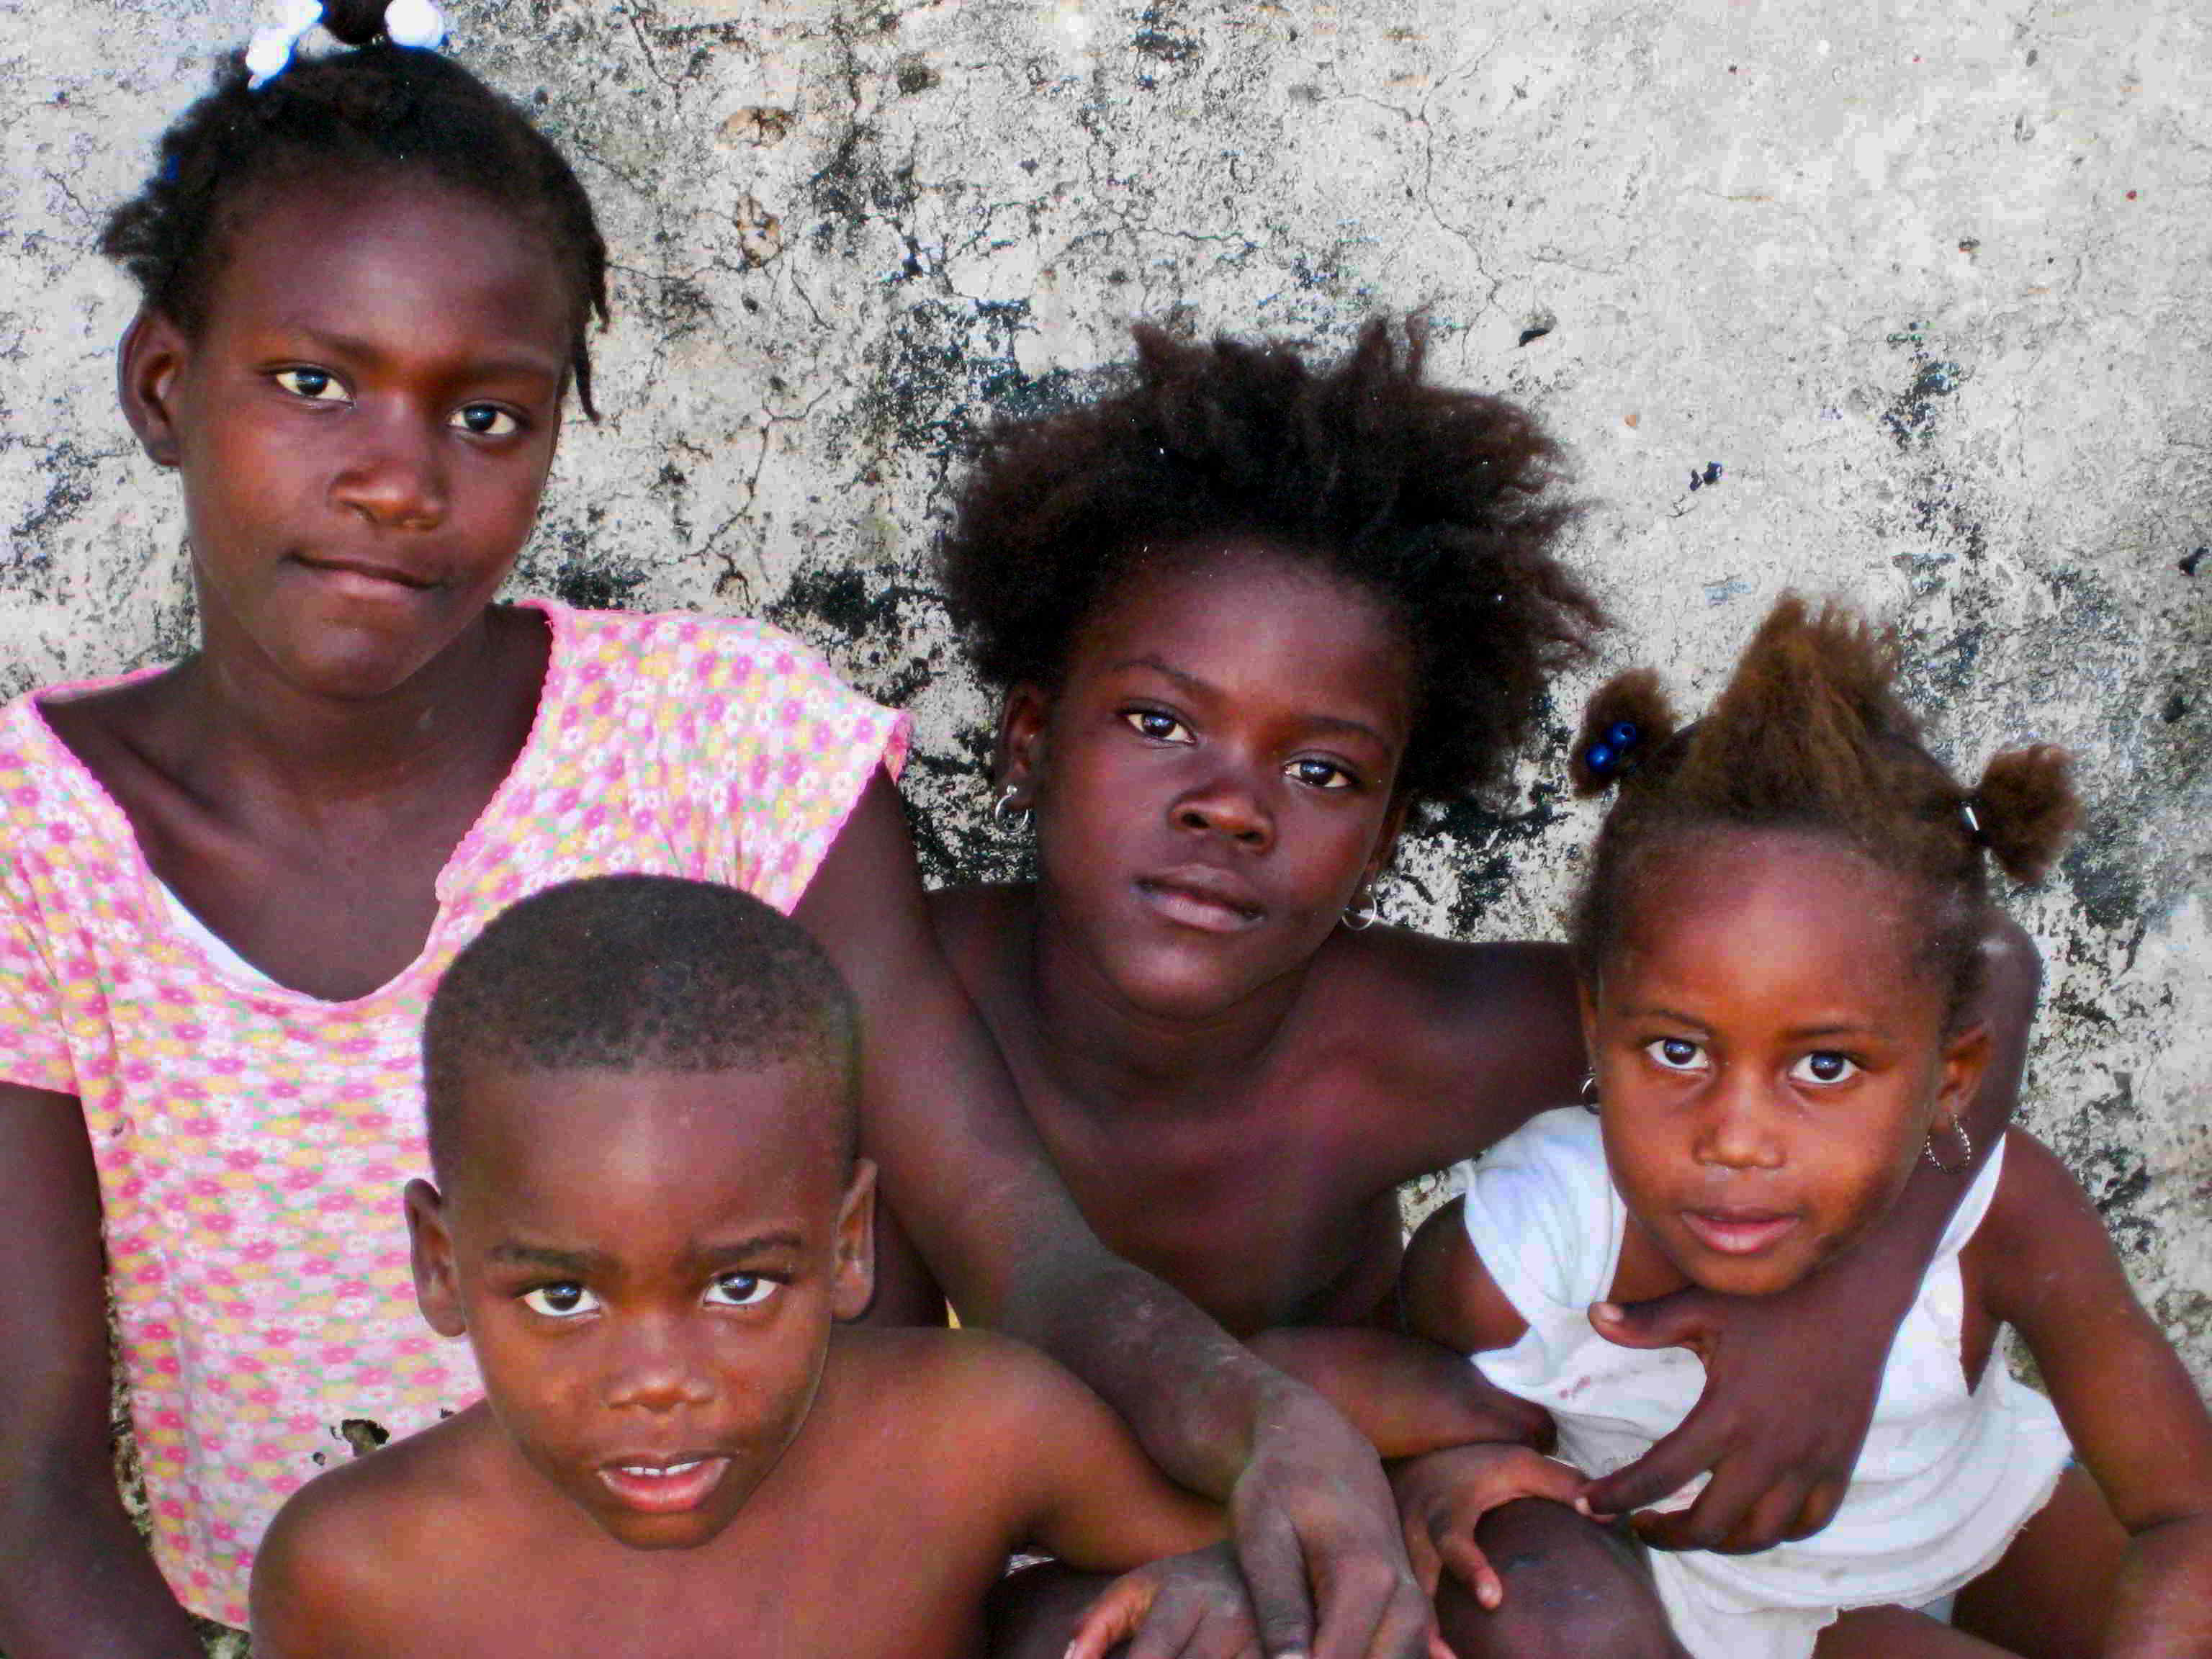
The damaged paster texture used as the Darken layer.

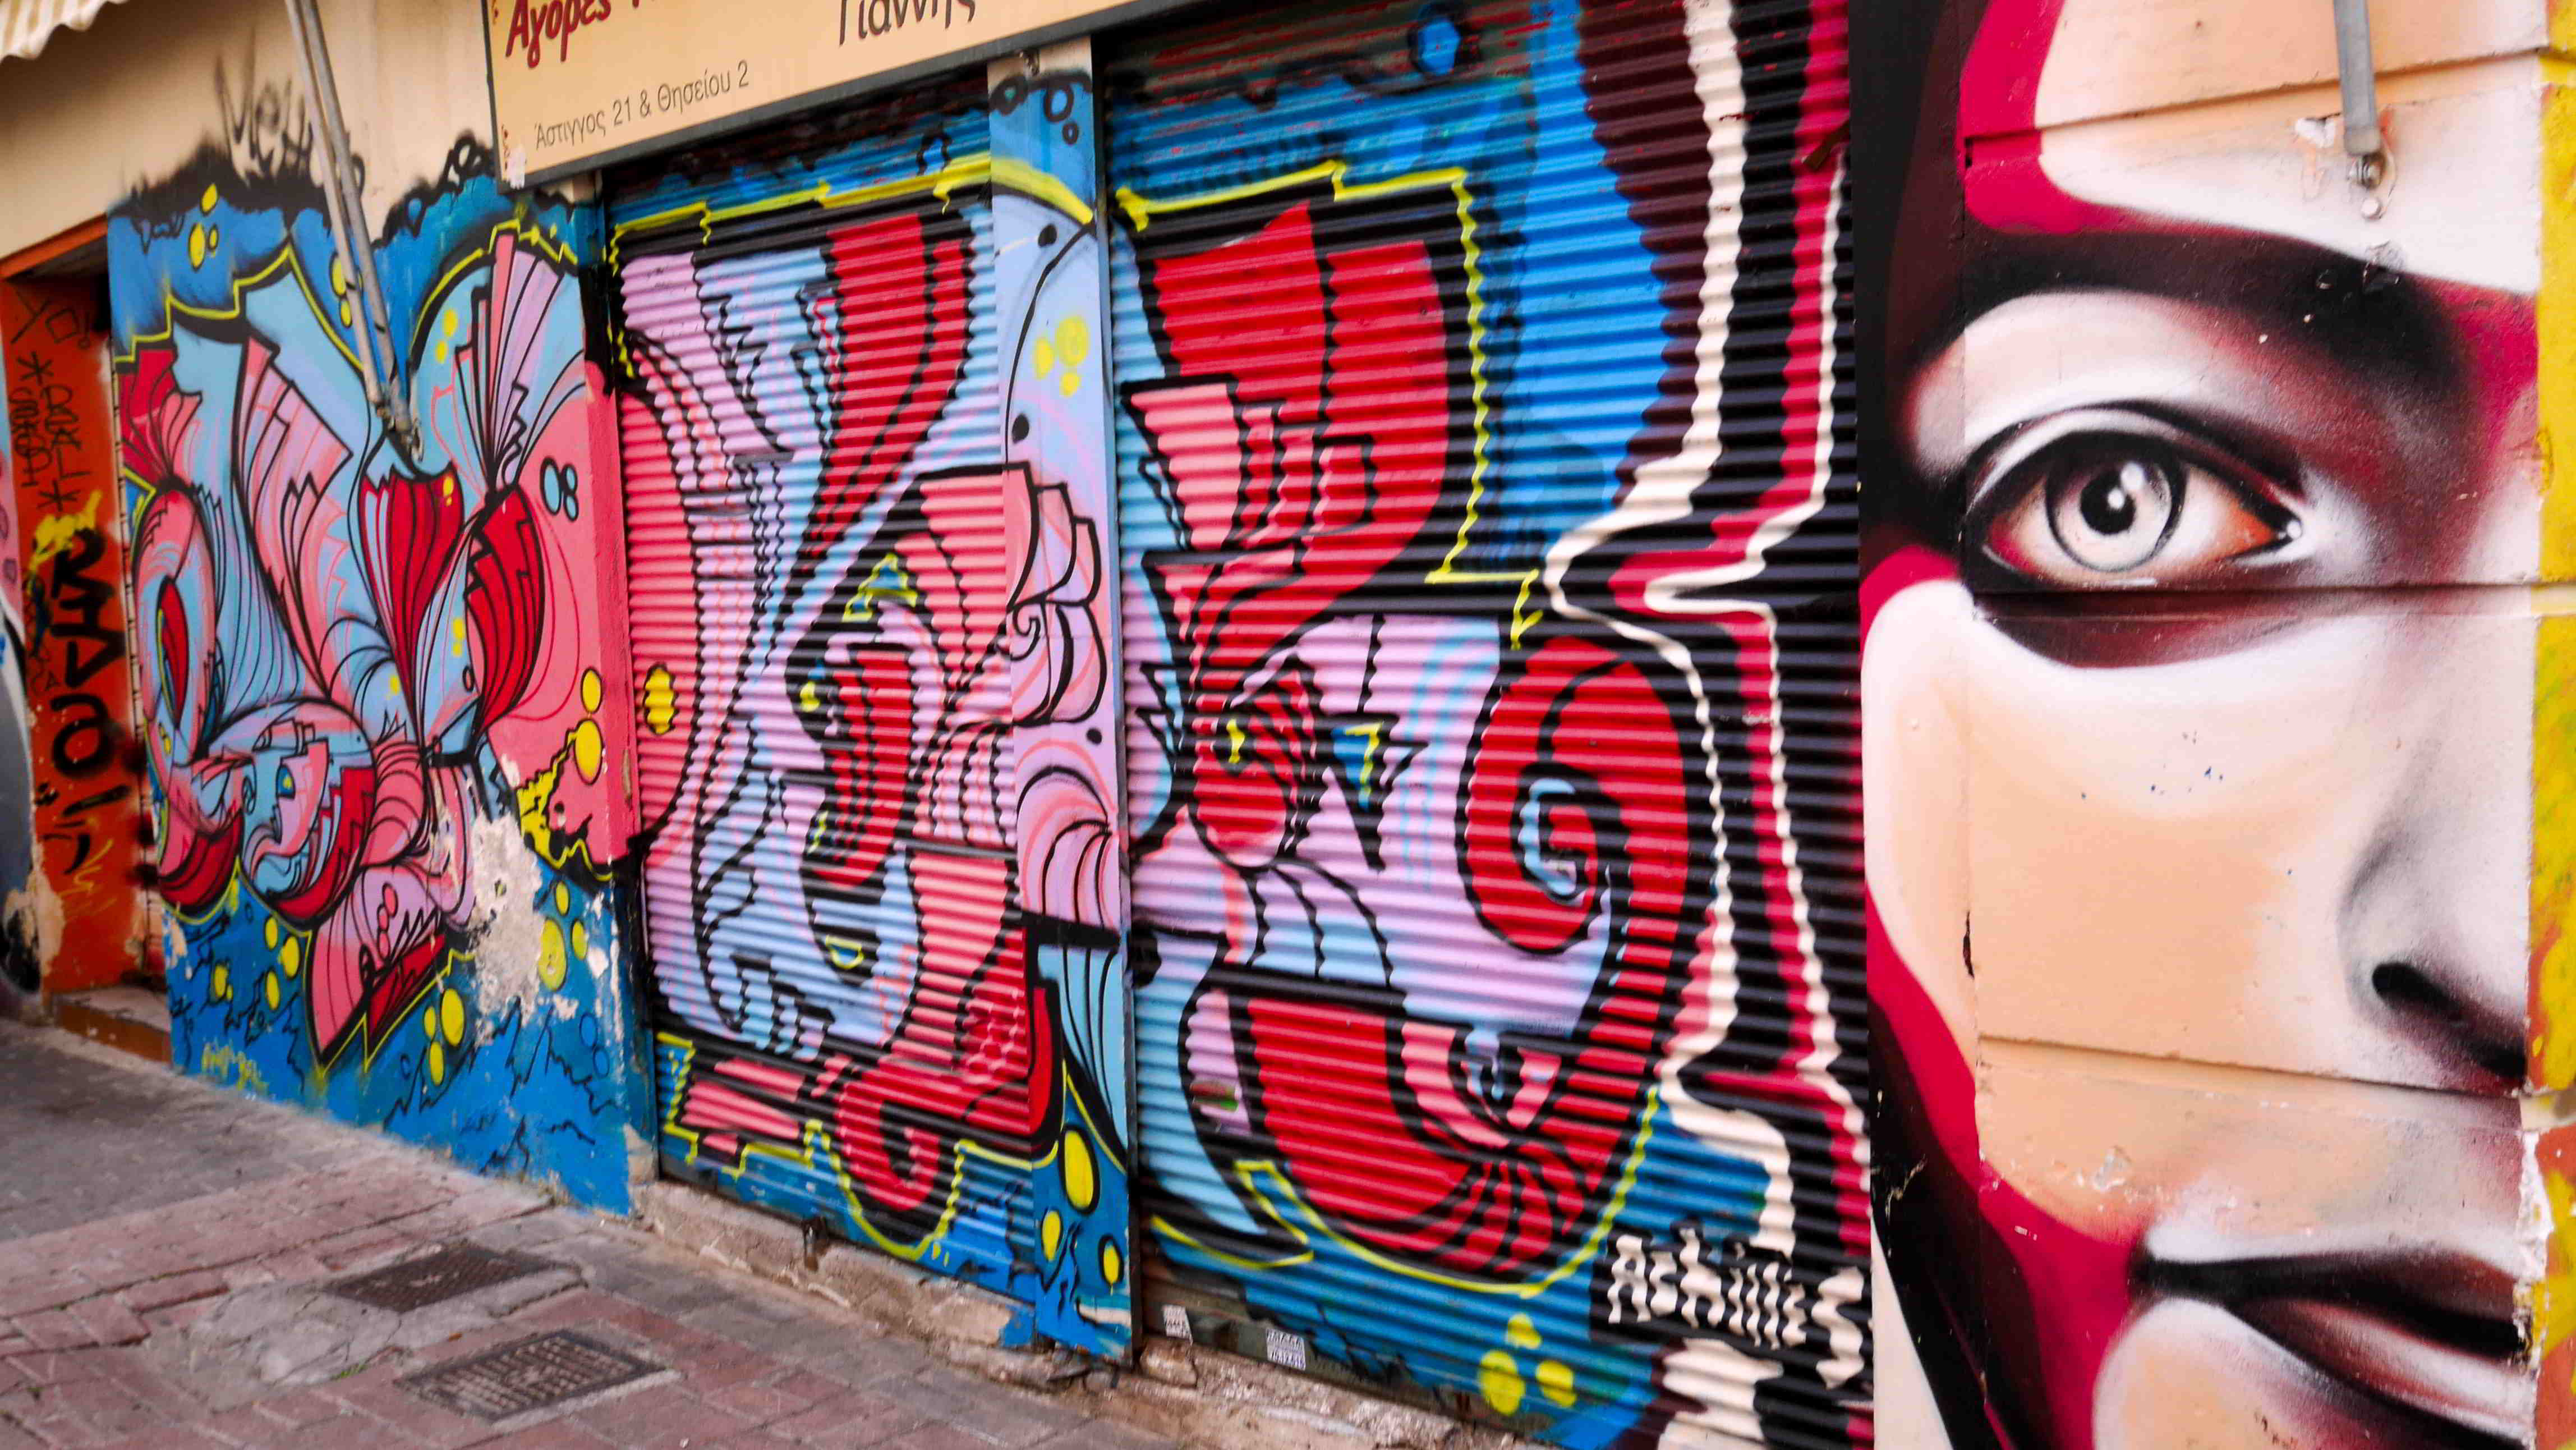
The resulting layered texture used in the scene.

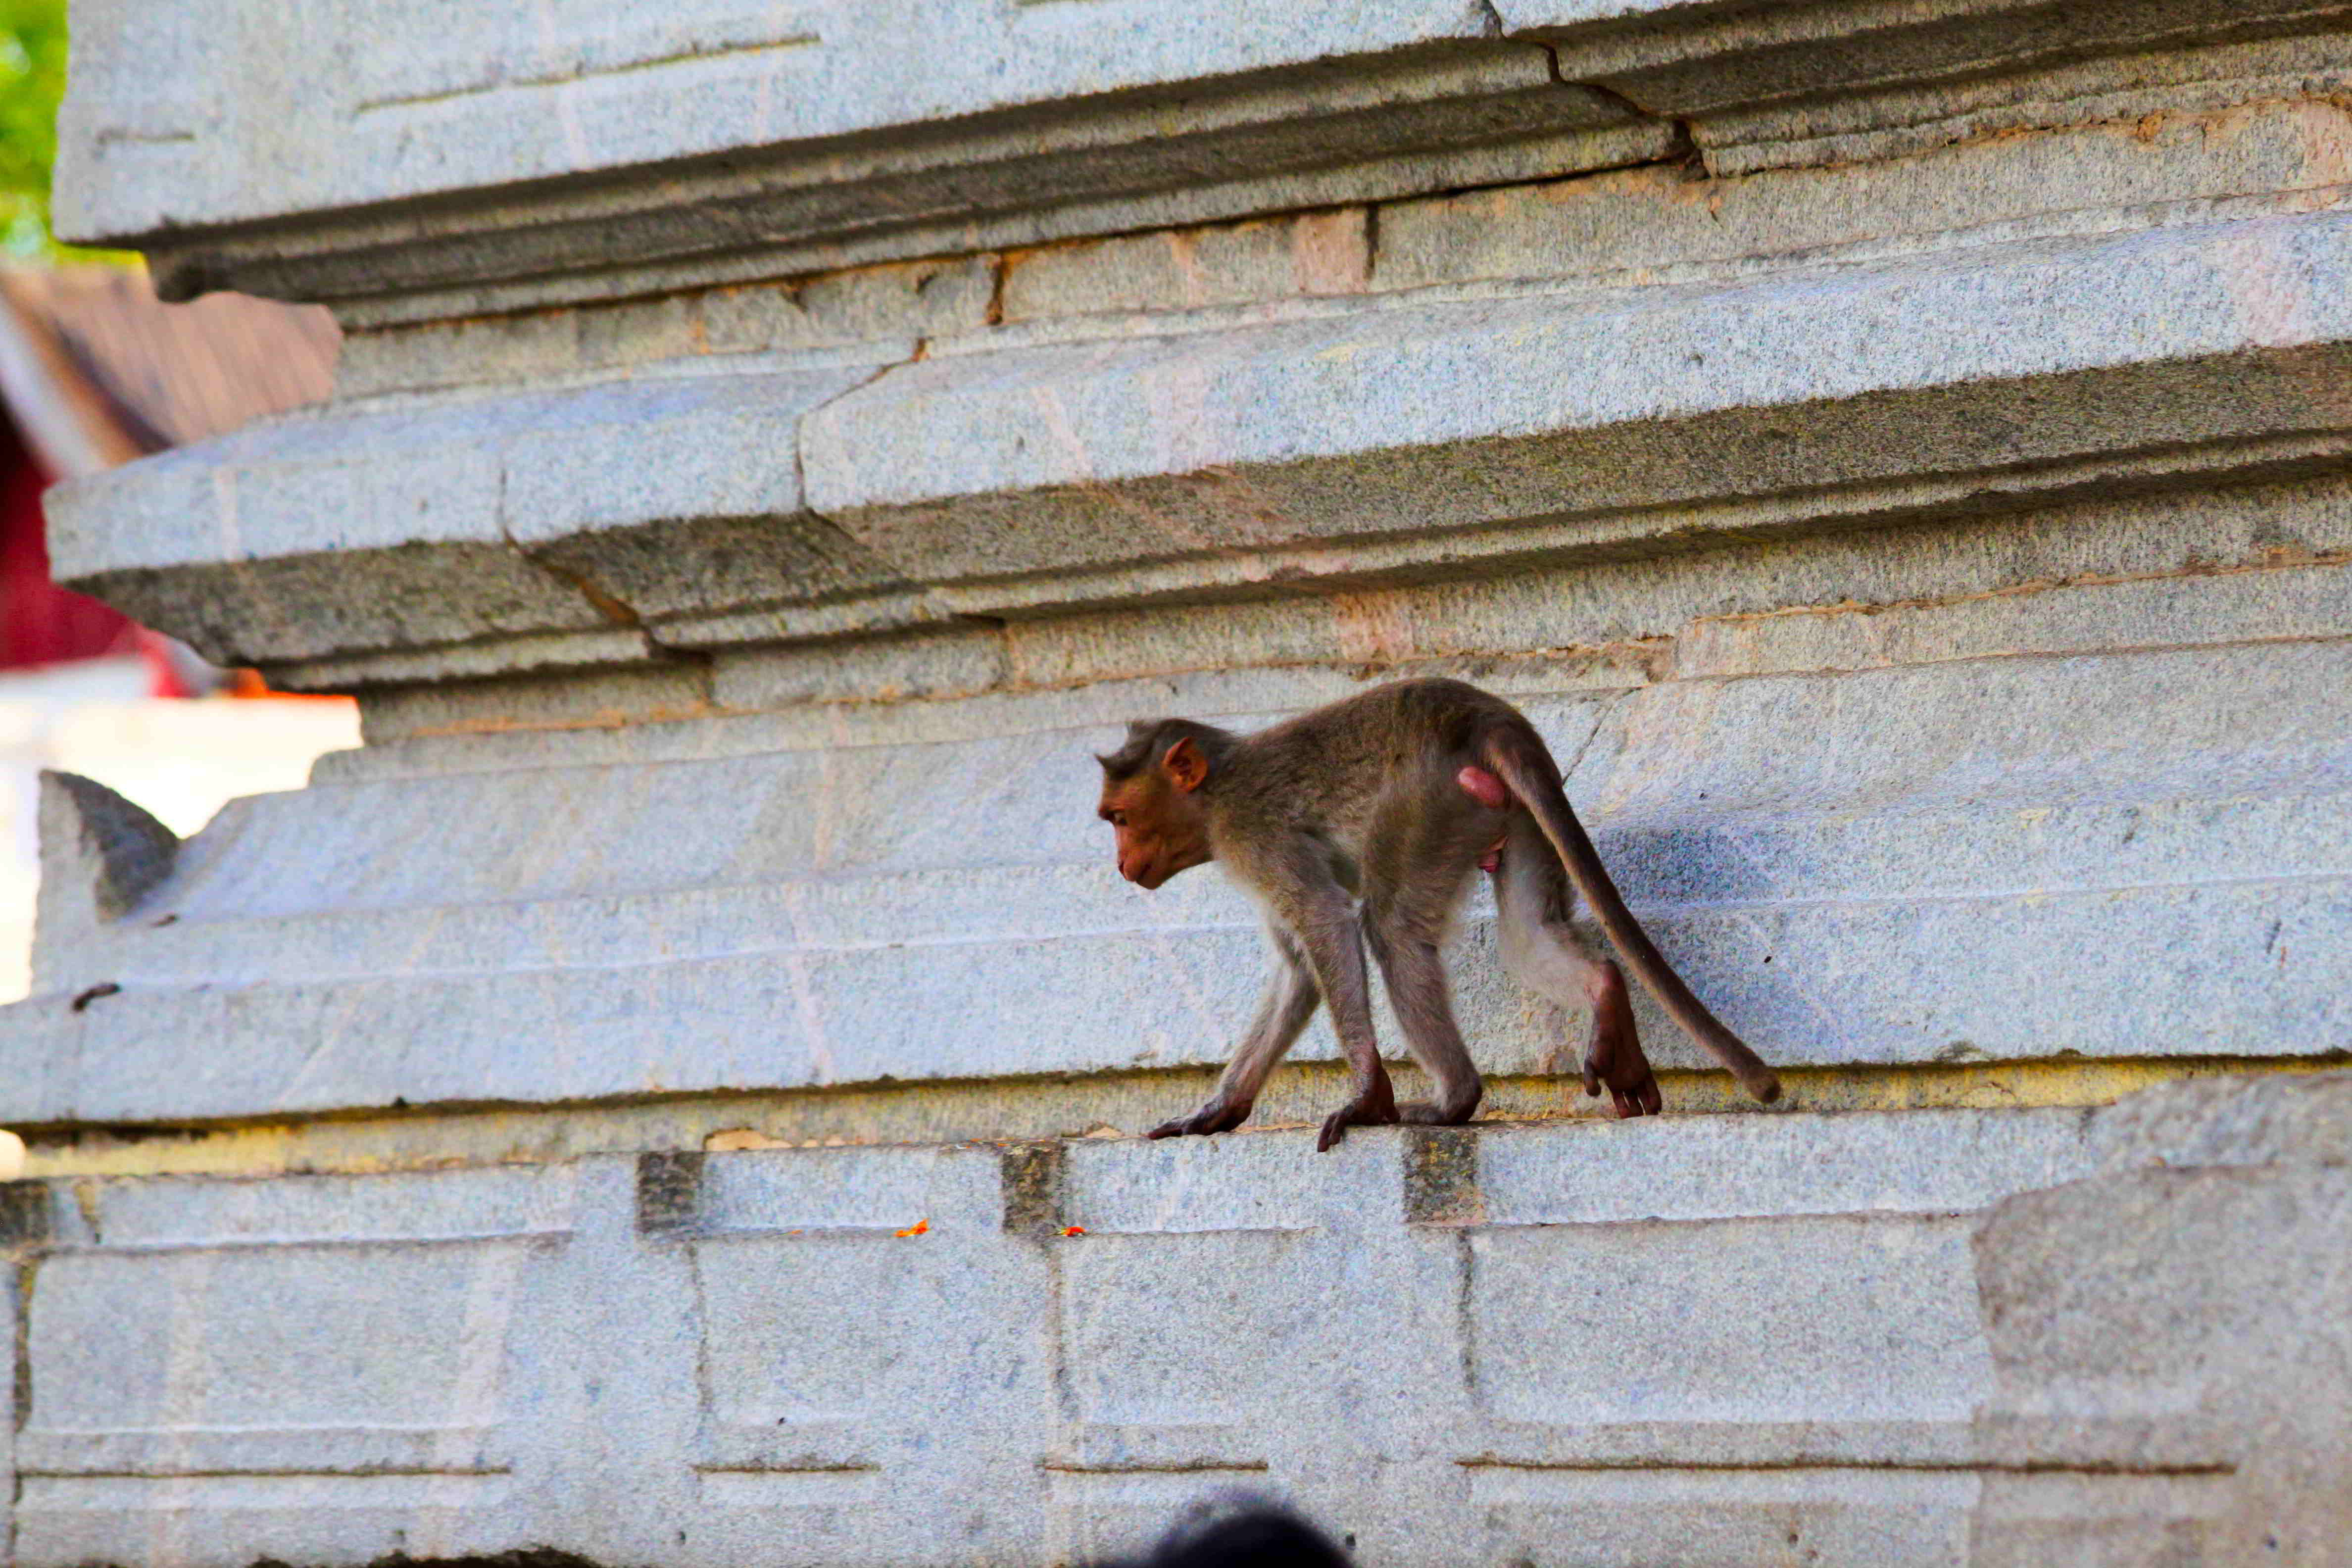
The bump map used to give the back wall its gritty look.  You can see how important a bump map is!

3D animation tutorials

Toon

This was made with the “toon” setting on Maya.  Go to the Rendering main menu, then go to Toon.  The color setting is 2; i.e., only two colors are allowed on the body of the cow, thus creating the 2D appearance.  The lettering was done within Maya under the Create > Text tool.