Bump mapping and layered textures.
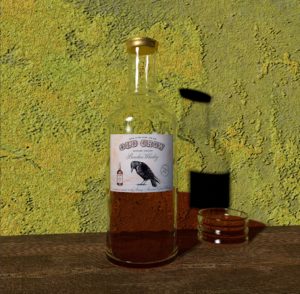
The back wall on in this scene is made with a Blinn, with a layered textured made in Photoshop used as its color. A bump map was added to the Blinn.
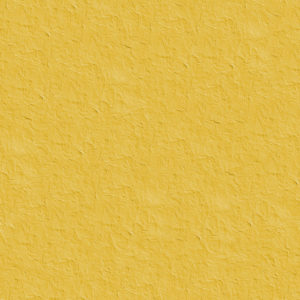
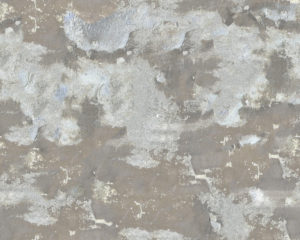
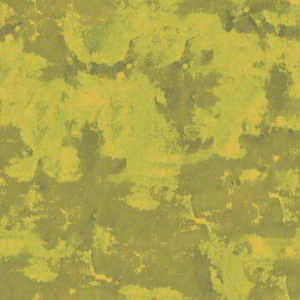
The layered texture was made with a yellow paster seamless texture, with a added Darken layer consisting of a damaged plaster seamless texture.
Immediately below is the original yellow plaster texture, followed by the damaged plaster texture.
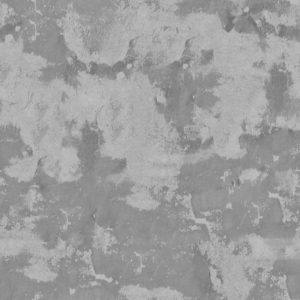
Below those are the final layered texture output by Photoshop, followed by the final texture’s bump map.
The bottle is a revolved NURBS surface with a mental ray glass material.
The desktop is a wood seamless texture with a bump map made from the same texture.
The original yellow paster, before layering.
The damaged paster texture used as the Darken layer.
The resulting layered texture used in the scene.
The bump map used to give the back wall its gritty look. You can see how important a bump map is!
