
In the video tutorials on 3DbyBuzz, we look at the basics of creating lights in Maya, using ray tracing, and manipulating shadows. We also look at the rudiments of global illumination and final gathering. And we look at depth map versus ray traced shadows. In this posting, we review final gathering and then look at a couple of new things: caustics and irradiance. Our goal is to look at a few different ways of adding light effects to a scene. We will be using the mental ray renderer for this posting.
Global illumination and final gathering.
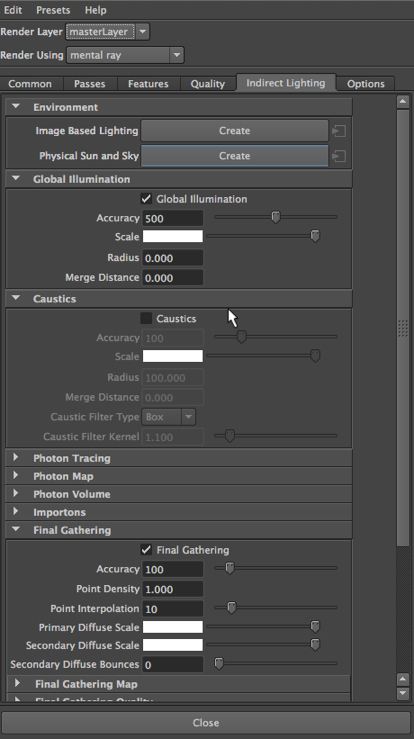
We use these two options to add more light to darkened areas of a scene. As a reminder, final gathering, which is an option you can set in the mental ray renderer, adds some extra computations to the ray tracer, and in doing so, fills in dark areas. These often occur when one part of a model is casting a shadow on itself. By using final gathering, we put some extra rays in those little spots. If we go to Window, choose Render Editors, and then Render View, we can select mental ray, and then go to the Indirect Lighting tab and choose Global Illumination. We will also turn on Final Gathering, which does a similar job, but is less effective.
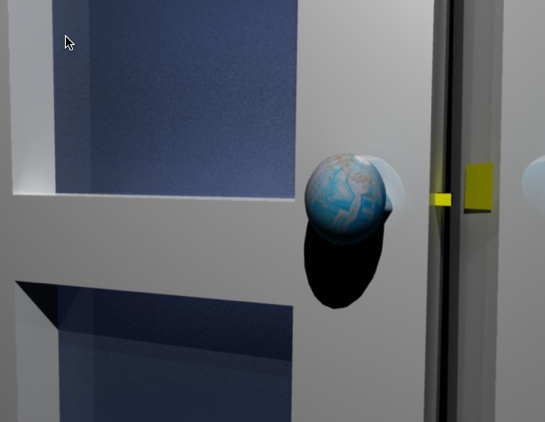
Below, is the before and after. Without global illumination and final gathering. Notice the area around the brass bolt.
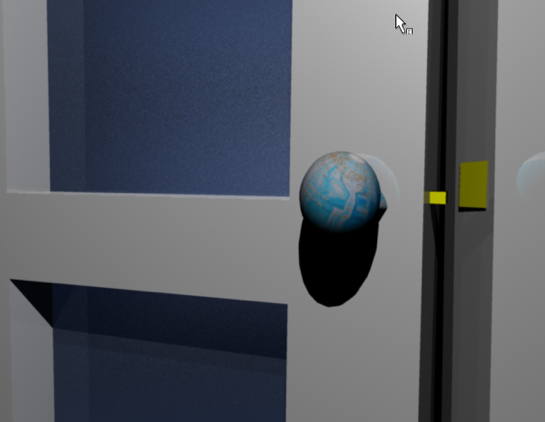
With global illumination and final gathering. Look at the same area:
Caustics.
We use caustics to create the harsh light reflections and refractions we often get when light hits a glass object. We will manipulate both the lights in a scene and the mental ray settings to get caustics. We will use a scene that we have seen in the tutorials on 3DbyBuzz. We have a NURBS curve that has been revolved to make a dish. On it we have placed the mental ray mia_material, with a ThickGlass preset:
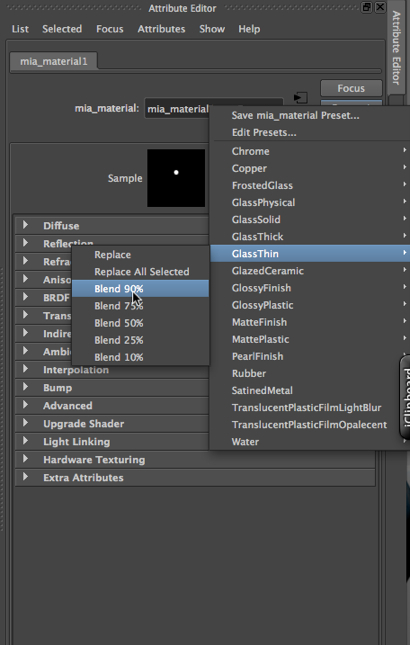
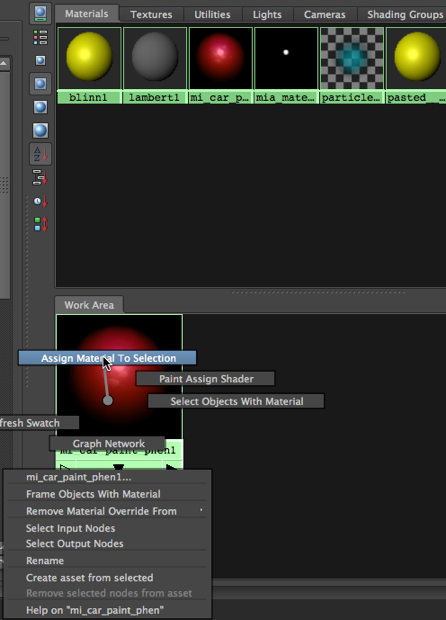
We apply this material to the dish by selecting the dish in the Main window, then right clicking on the material, and then assigning it:

First, here is a scene without caustics:
Now, we turn on Caustics in the mental ray render settings:
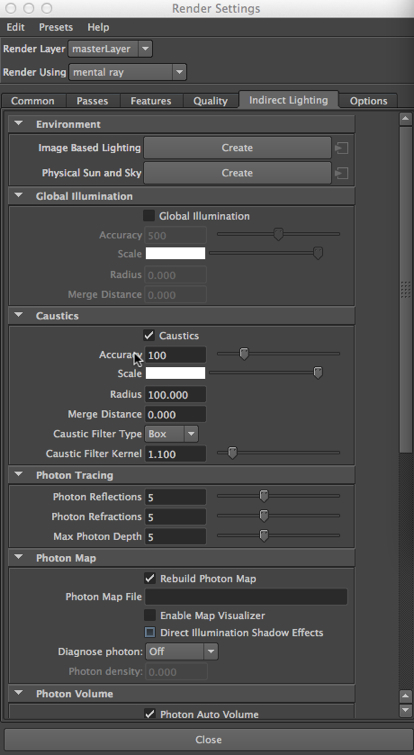
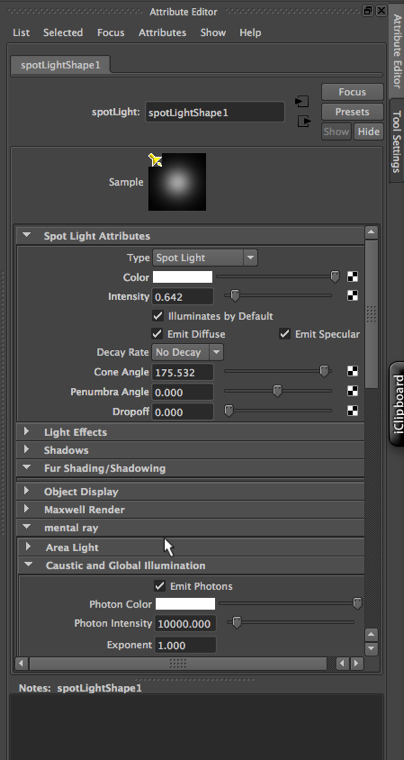
Now, we turn on photon emitting in the attributes of the dominant light in the scene, which happens to be a spot light with a wide cone. The other light in the scene is also a spotlight with a wide cone, but its intensity is much lower.
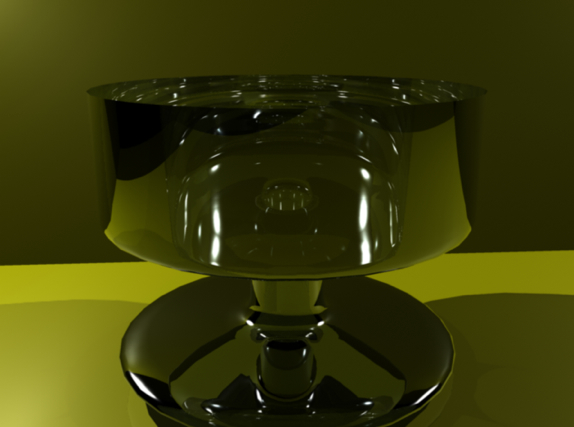
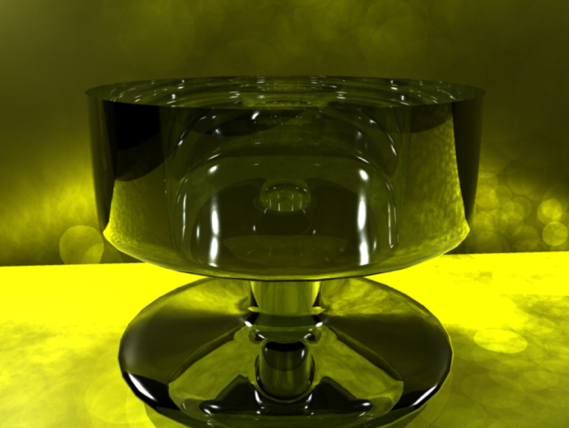
Now, we render the scene again:
Light emitting materials: Irradiance.
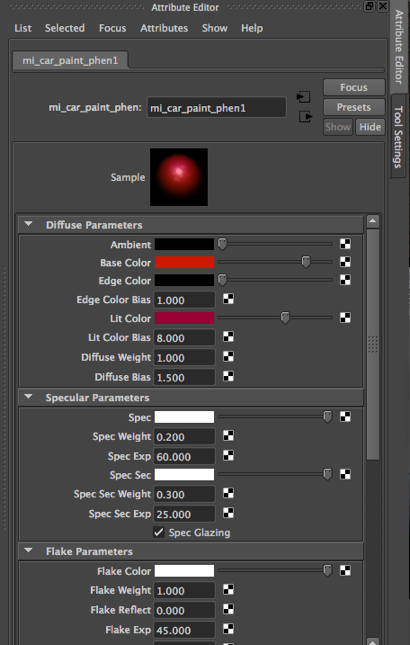
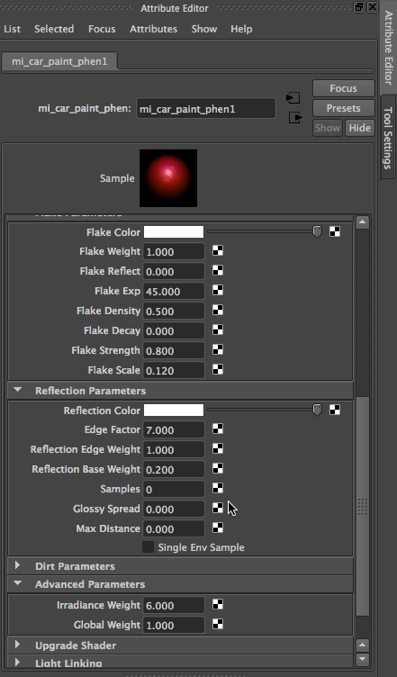
First, we choose a highly reflective material from the mental ray list of materials.
We apply this material to the dish by selecting the dish in the Main window, then right clicking on the material, and then assigning it:
Now, we turn our two spotlights in the scene down low and render. There is very little light in the scene:
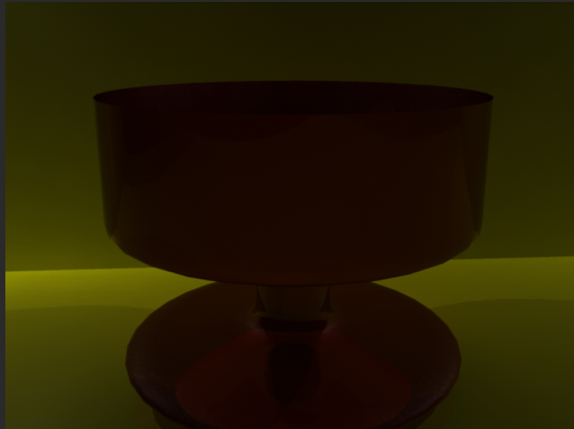
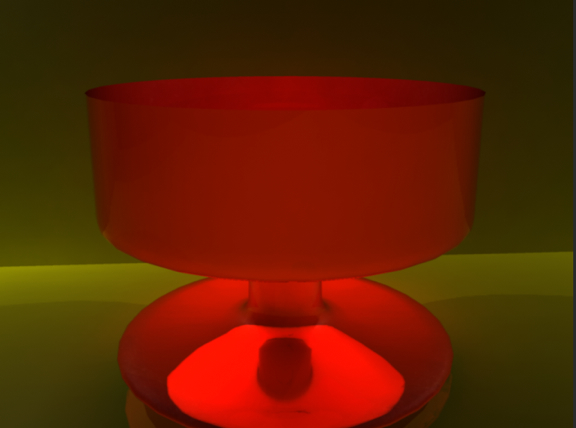
Now, we turn up the irradiance of the material.
–
Below is the result. We have a sci-fi goblet.