
In the video tutorials on 3DbyBuzz, we used the mental ray mia_material and its frosted glass preset to create frosted glass doors for a closet.
–
Anisotropy.
In this posting, we focus on one particular setting for the frosted glass, Anisotropy.
Anisotropy is an attribute that can be set in the mia_material attribute box. This controls highlights that run across the scene in multiple directions.
–
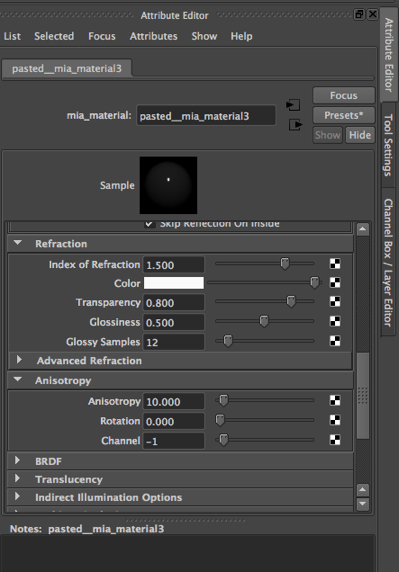
Anisotropy settings.
In the image below, we see the Anisotropy settings for the mia_material that makes up the frosted glass of our doors.
–
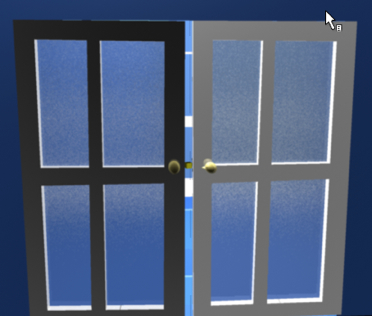
Set to 1.
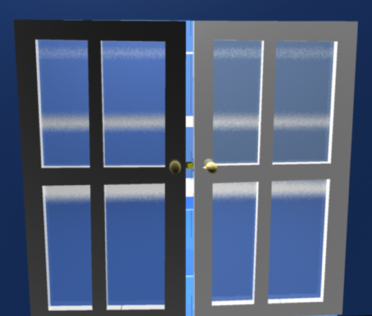
Below is a render resulting from an Anisotropy setting of 1, meaning that the left-right and up-down values of the highlights are equal, or more precisely, that the highlights are even in all directions.
Thus, the glass doors blur the white shelves behind them.
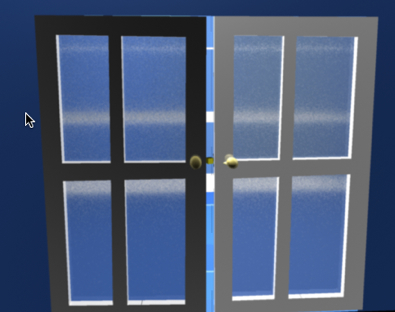
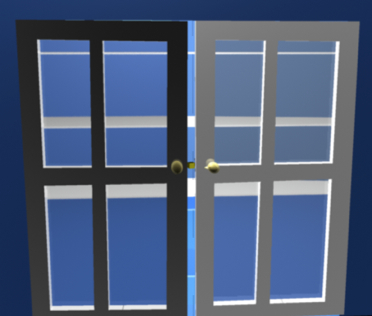
Set to 10.
Below, the setting is 10, creating a highlight that is not equal in all directions. In particular, the top-down highlights are softer than the left-right highlights. The effect is to undo some of the frosted effect of the glass, as the highlights don’t blur the shelves as much. You can think of it this way: in order for the horizontal shelves to be distorted to the point of not being easily visible, the white coloring of the shelves needs to be moved upward and downward.
Set to 100.
If we crank it up even more, we see that the highlights are very weak in the top-down direction (compared to the left-right direction). So there is now virtually no frosted glass effect.
A number less than 1.
Below, we see what happens if you set the number to .1. Now, the highlights are greater up-down than they are right-left, and the doors are distorted again.